


LiteFinance Registration is complete in 3 easy steps. Access the official website, enter your date of birth and country, confirm your email, and set up your LiteFinance account.
Opening a LiteFinance account allows you to trade over 250 instruments in various markets with high leverage of up to 1:1000 and a minimum deposit requirement of just $50.
This broker also offers various account types, including ECN, Classic, Cent, and Islamic accounts.
Summary of Steps
Registering with LiteFinance Broker has simple steps; LiteFinance Registration process:
- Select LiteFinance Broker via Trading Finder;
- Complete the registration form with your email and password;
- Verify your email and set up your account.
Check the table below before starting the signup procedure:
Registration Requirements | Yes/No |
Email Sign-up | Yes |
Phone Number Required | Yes |
Google Account Login | No |
Apple ID Login | No |
Facebook Login | No |
Full Name | No |
Country of Residence | Yes |
Date of Birth | Yes |
Address Details | No |
Email Verification | Yes |
Phone Number Verification | No |
Financial Status Questionnaire | No |
Trading Experience Questionnaire | No |
#1 Access the LiteFinance website
- Go to the Trading Finder website> Reviews> Forex Brokers;
- Select LiteFinance Broker, and click Go to Website.
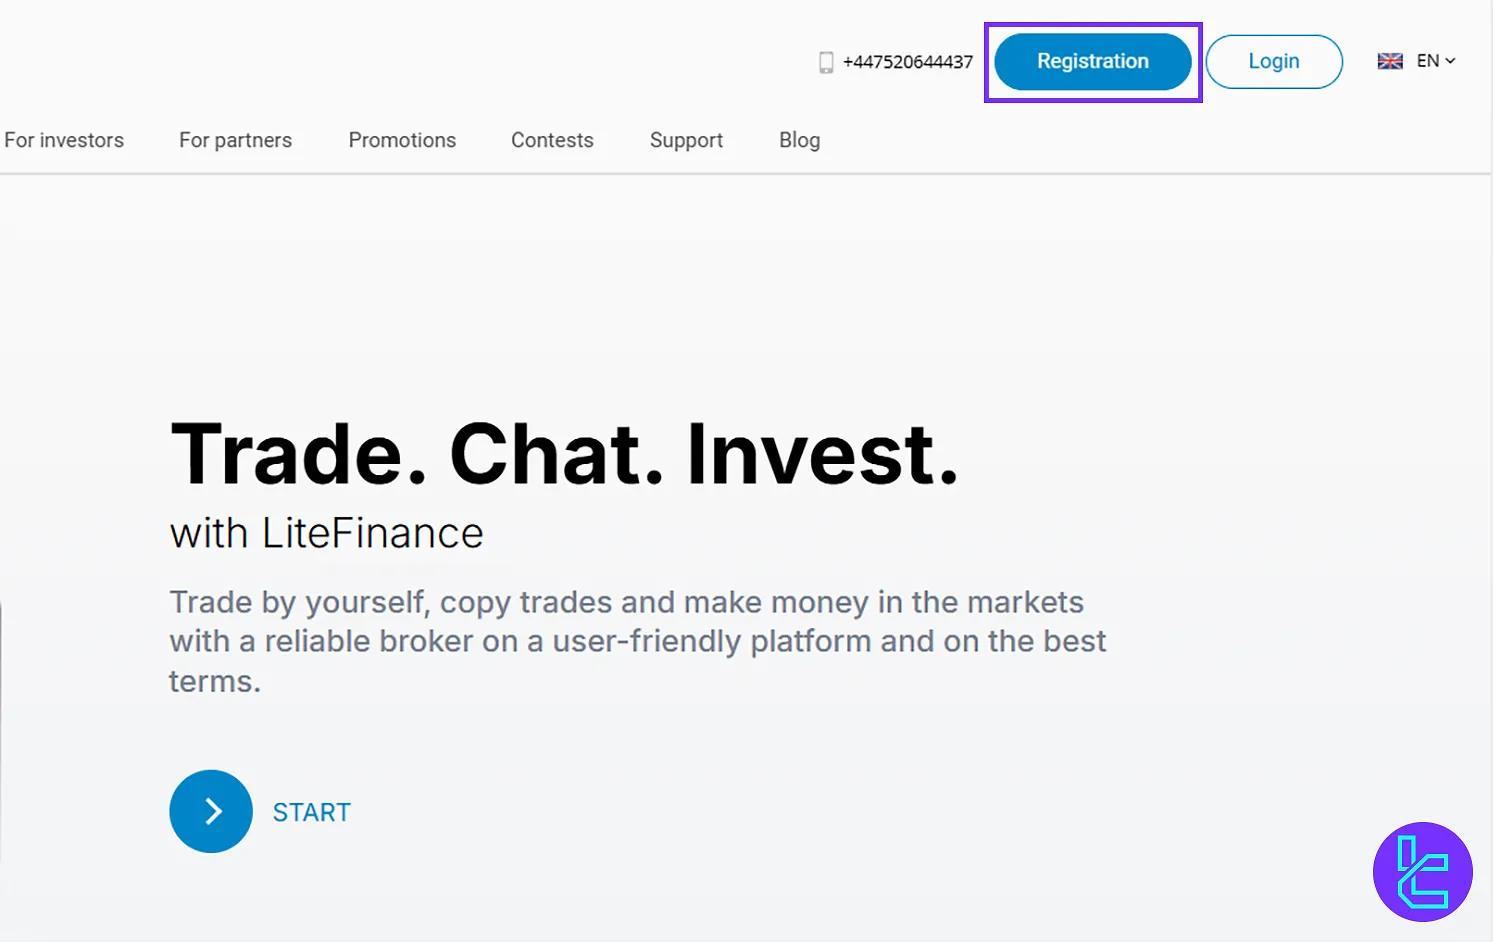
#2 Complete the registration process
- On the LiteFinance Broker page, click the Registration option;
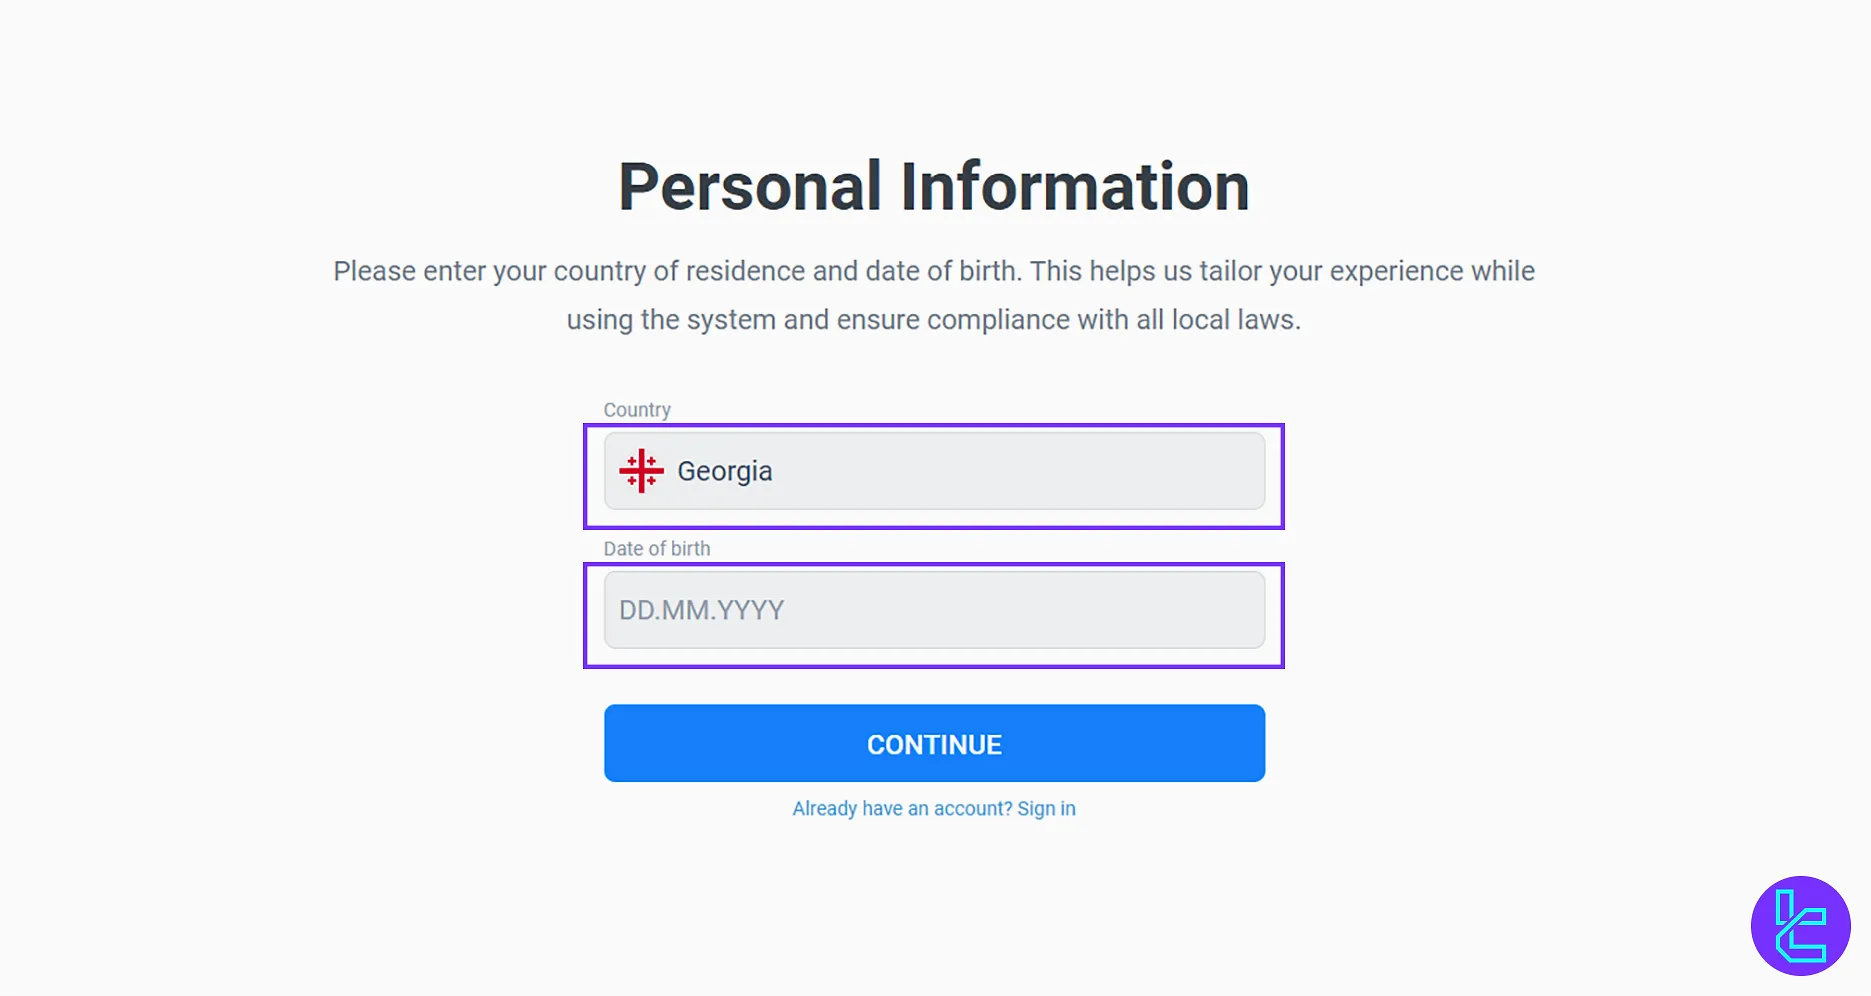
- Insert your date of birth and select your country;
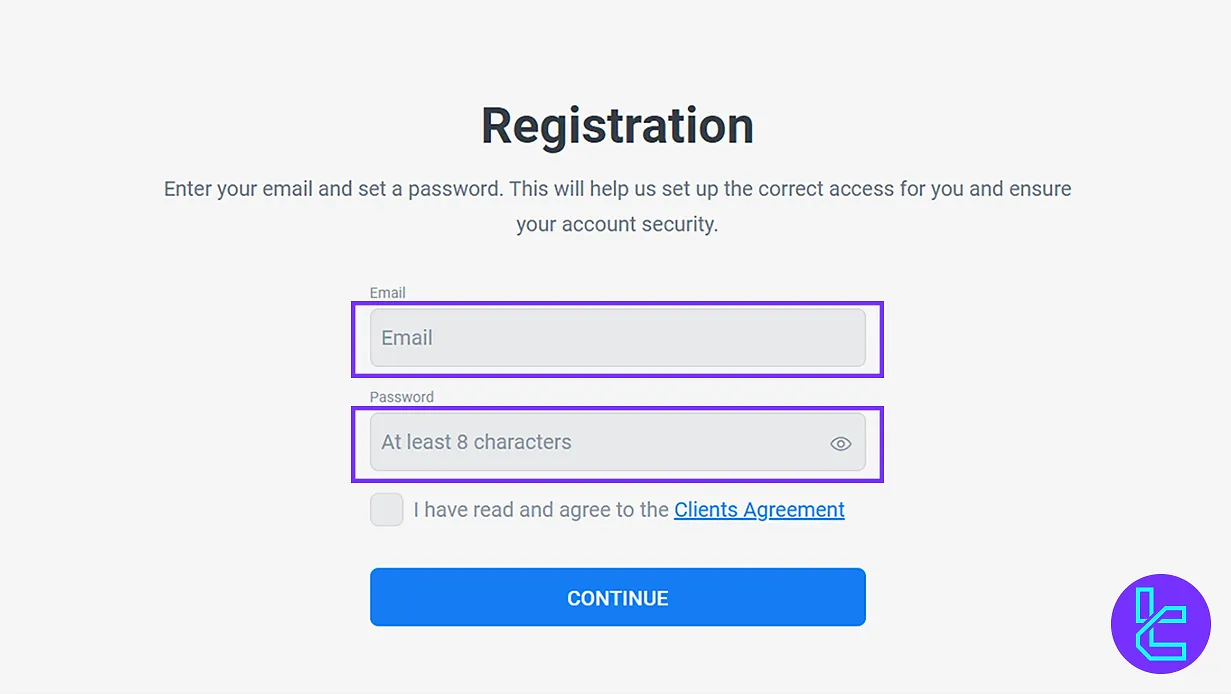
- Enter your email (unused with LiteFinance) and a secure password including uppercase, lowercase, numbers, and symbols;
- Accept the broker’s terms and conditions by checking the relevant box;
- Click on “Continue.”
#3 Email Confirmation
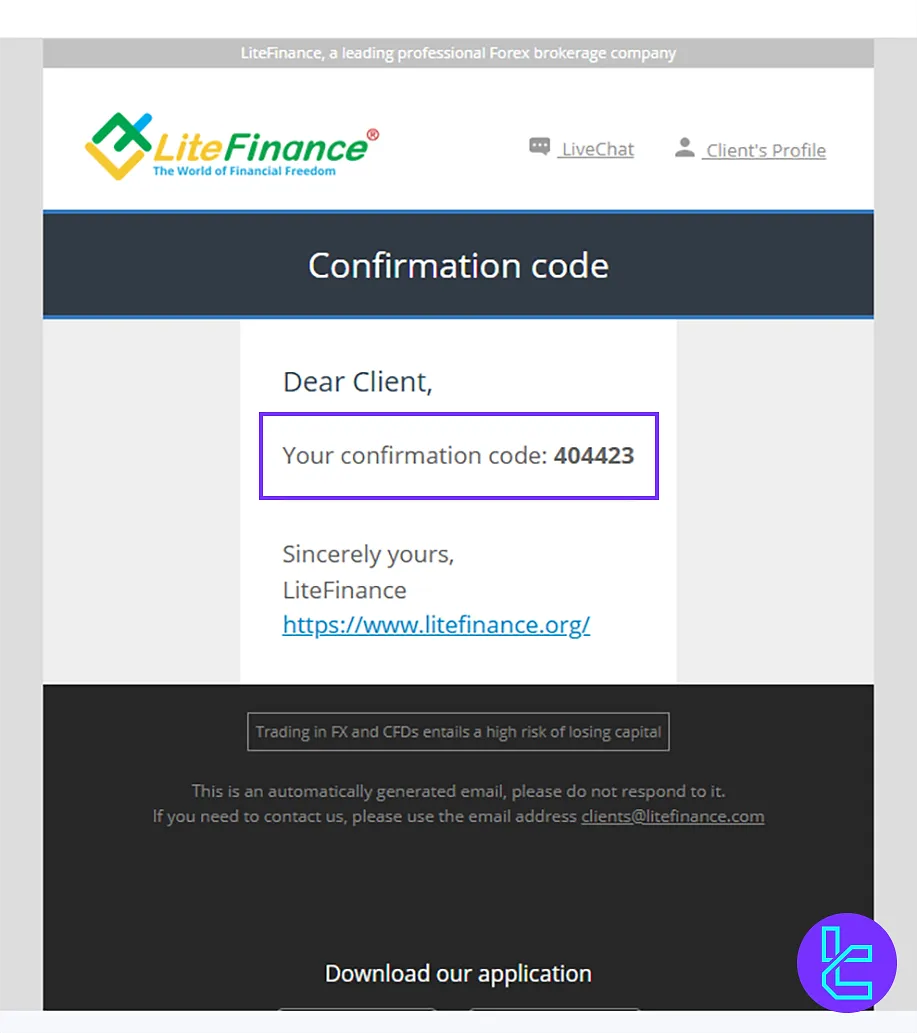
- Check your inbox for a verification email;
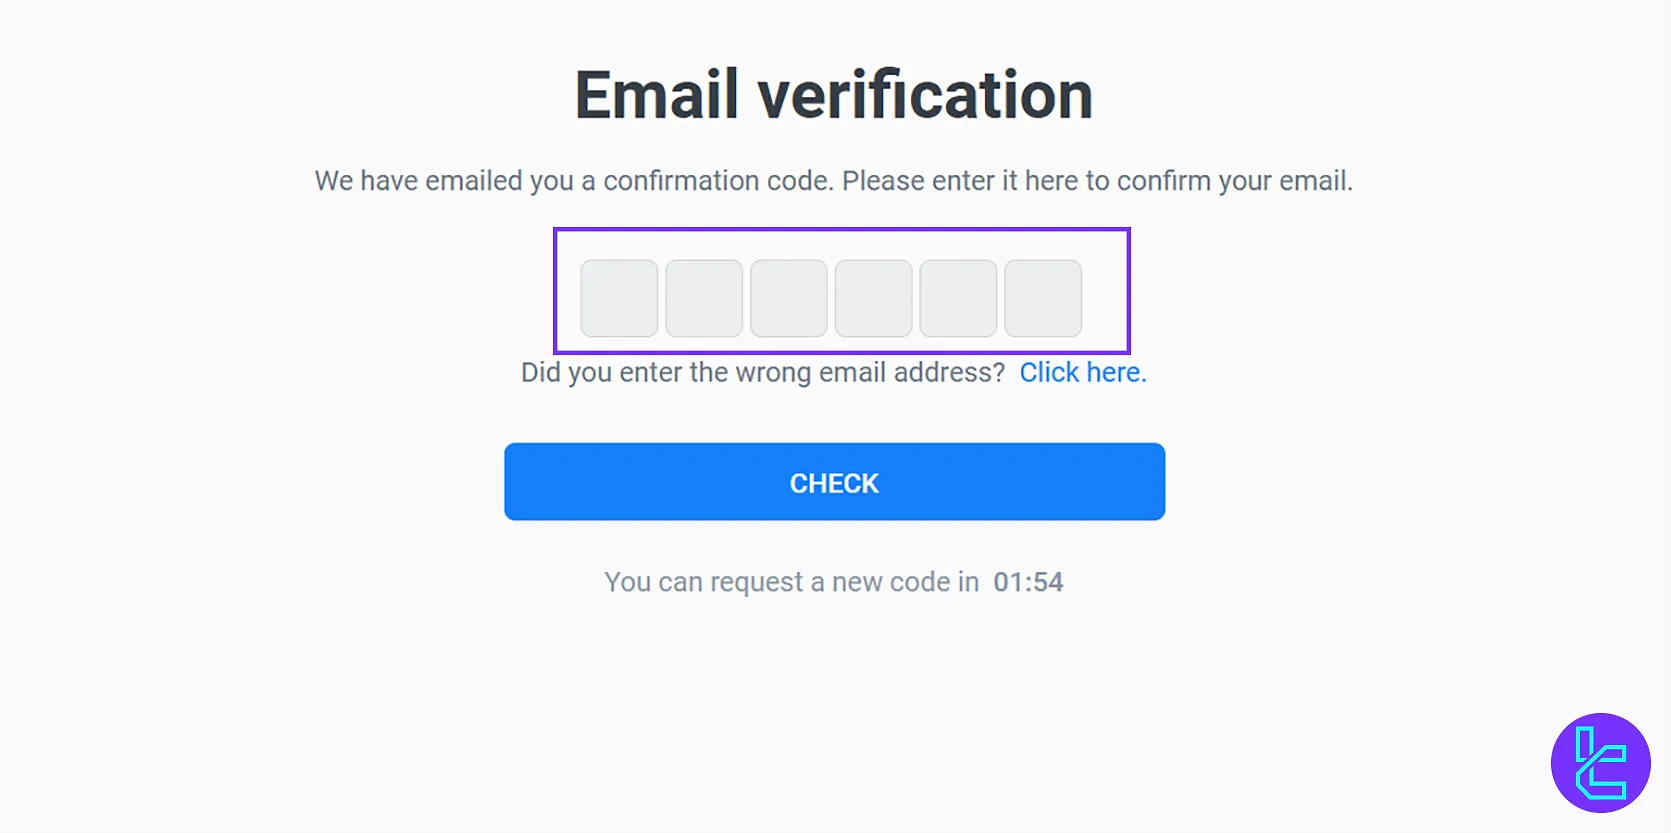
- Copy the code, and paste it into the designated field;
- Add your mobile number or click the Skip
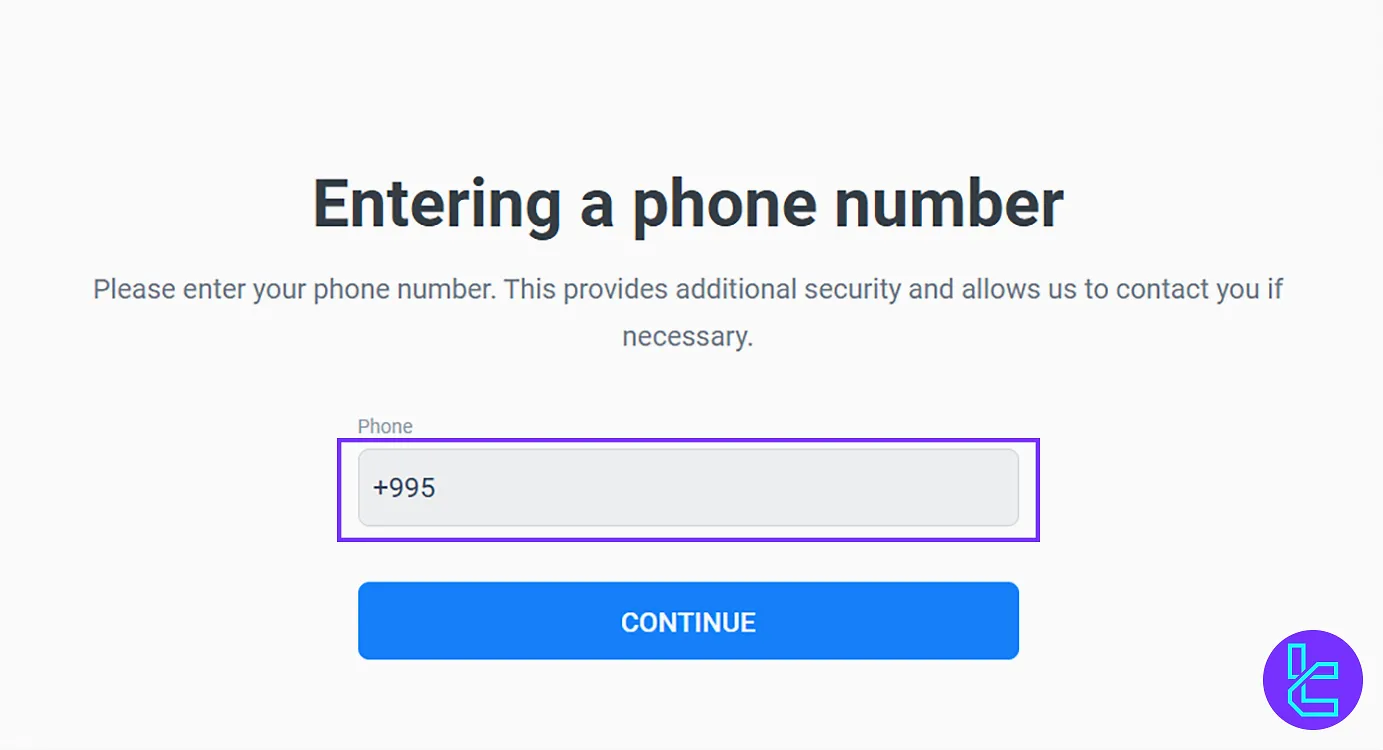
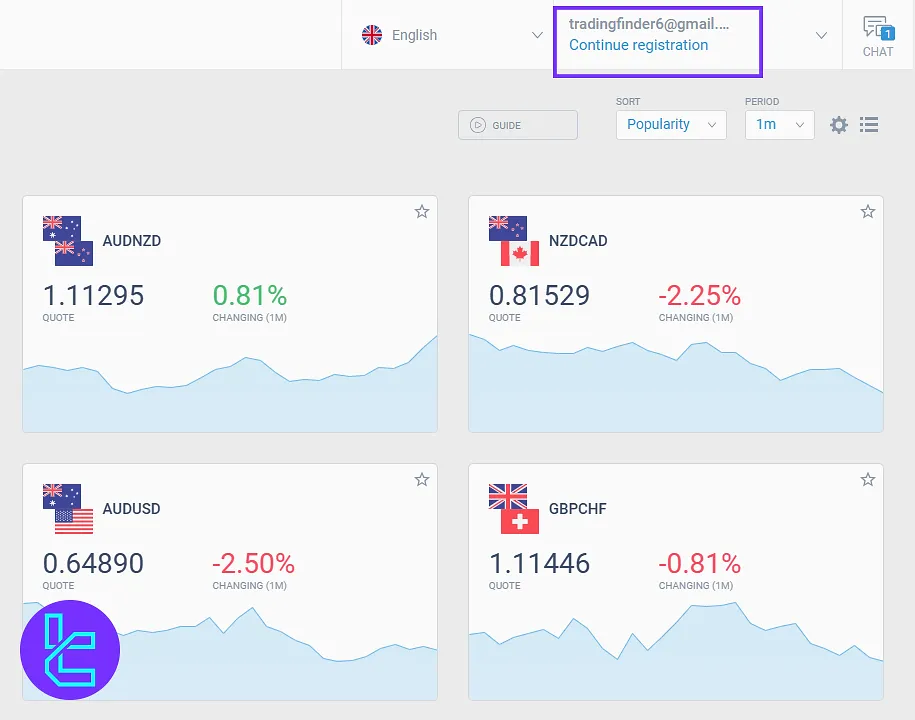
Congratulations! Your LiteFinance account is now active, and you can access your trading cabin.
LiteFinance Signup vs Other Brokers
The table below provides a comparison of the required information to open an account with LiteFinanace with other brokers.
Registration Requirements | LiteFinance Broker | |||
Email Sign-up | Yes | Yes | Yes | Yes |
Phone Number Required | Yes | Yes | No | Yes |
Google Account Login | No | No | Yes | No |
Apple ID Login | No | No | No | No |
Facebook Login | No | No | Yes | No |
Full Name | No | Yes | No | No |
Country of Residence | Yes | Yes | Yes | No |
Date of Birth | Yes | Yes | No | No |
Address Details | No | Yes | No | No |
Email Verification | Yes | No | Yes | Yes |
Phone Number Verification | No | No | No | No |
Financial Status Questionnaire | No | No | No | No |
Trading Experience Questionnaire | No | No | No | No |
Conclusion and Final Words
LiteFinance Registration takes less than 2 minutes with simply adding your email and phone number (optional). If you can’t find the confirmation email, check your spam folder.
Explore the next step, LiteFinance Verification, and get ready for trading. Check out this guide on the LiteFinance Tutorial page.


