


xChief verification is completed in 3 easy steps. The process involves accessing the authentication section, uploading your identity document (such as a passport or ID card), and taking a selfie.
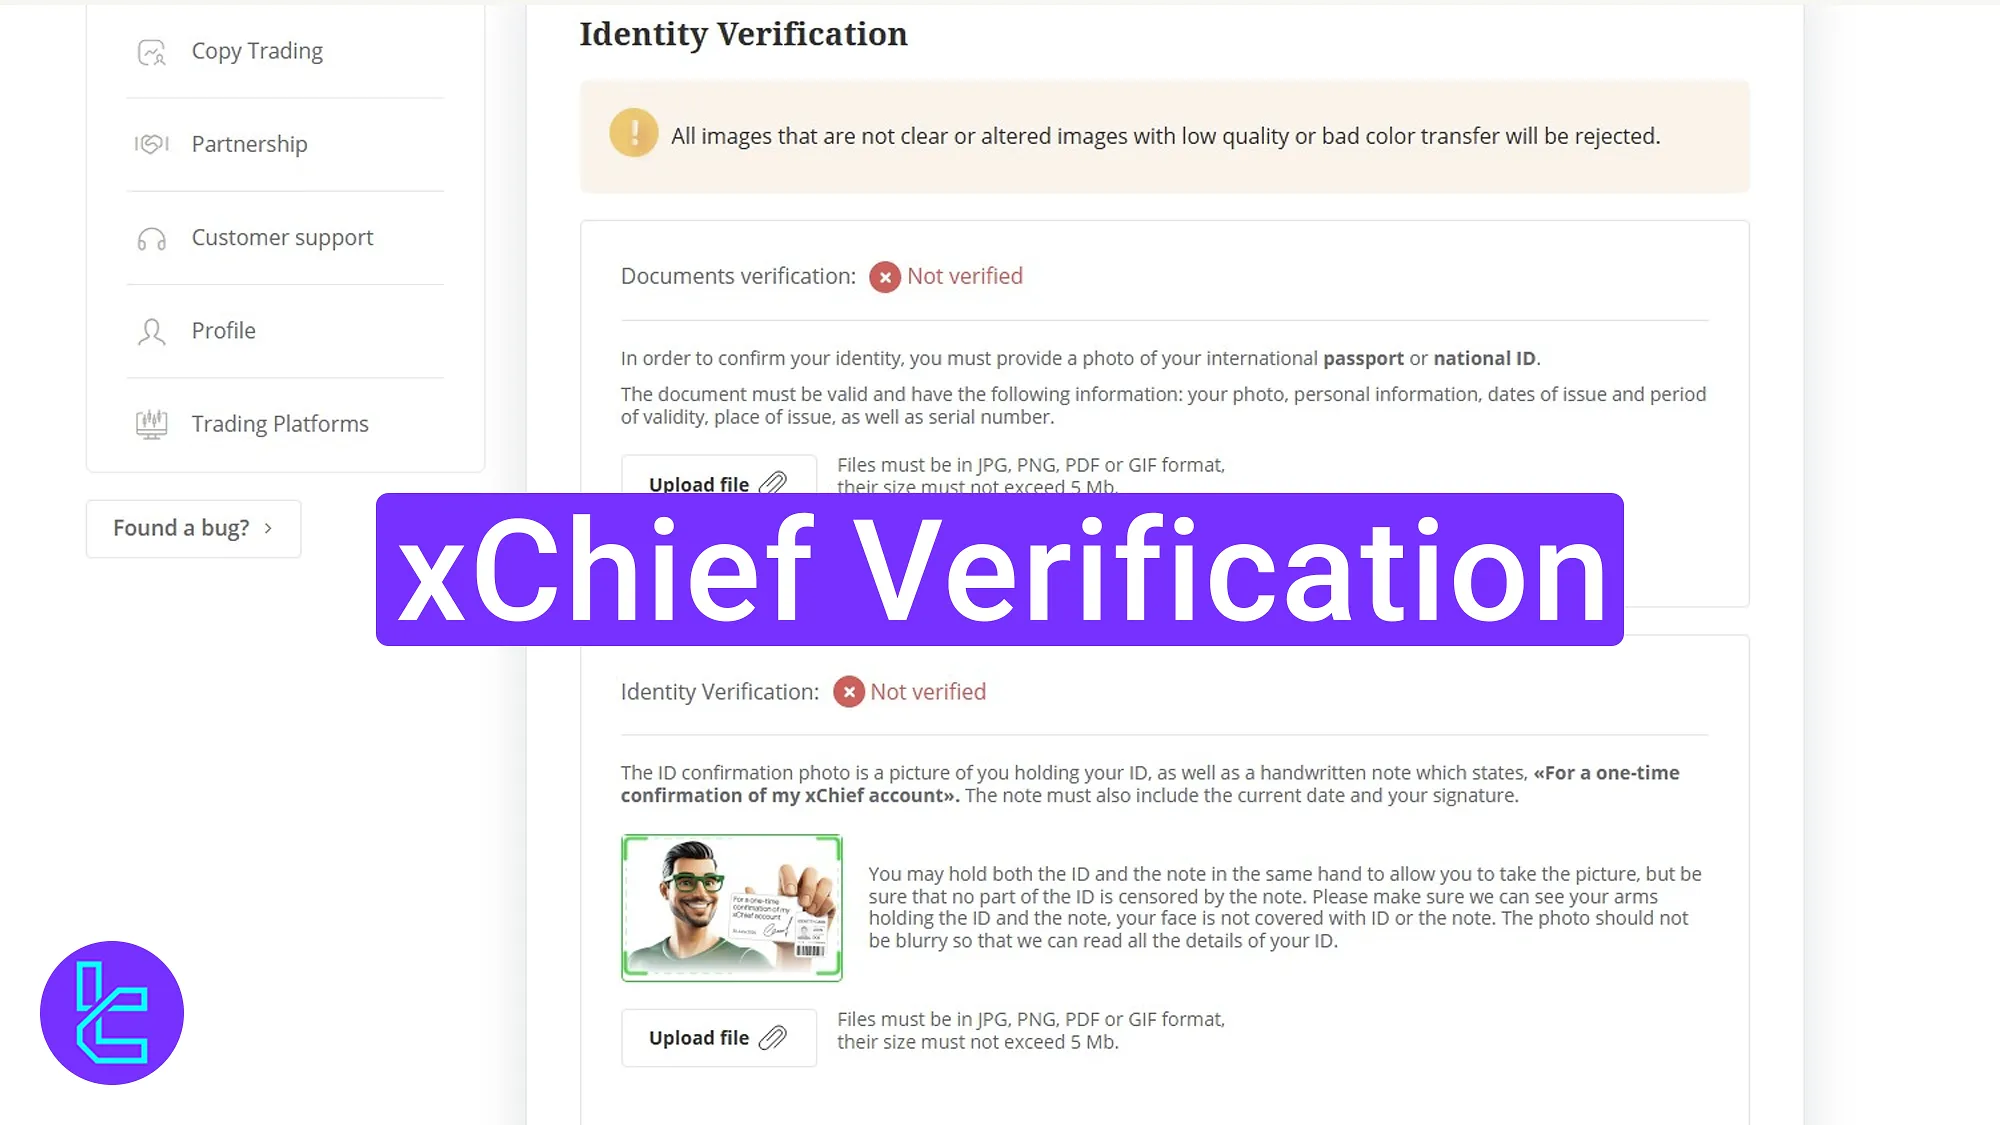
Step-by-Step xChief KYC Process
Once you've completed your xChief registration, unlock the full range of financial features in the xChief broker by following these steps.
xChief verification overview:
- Access the authentication section;
- Upload identity documents;
- Take a selfie;
- Use the xChief Broker mobile app for fast approval.
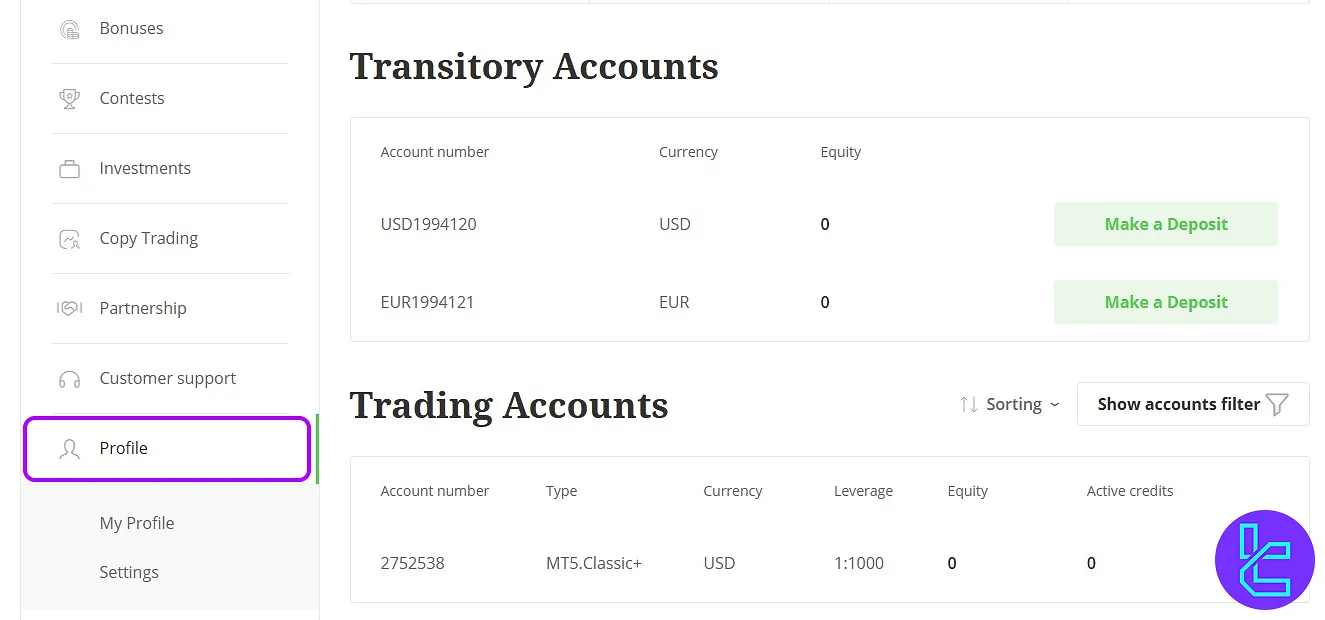
#1 Access the xChief Identity Confirmation Section
To begin the identification process in this Forex broker, follow these steps:
- Log in to your xChief dashboard;
- Select the "Profile".
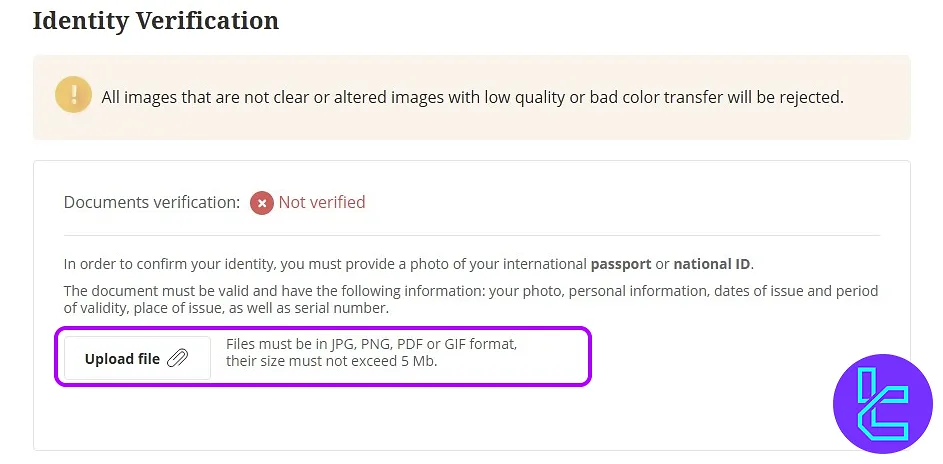
#2 Upload Your ID Document
You'll need to upload one of the following identity documents:
- Passport
- National ID card
The allowed formats are JPG, PNG, PDF, or GIF.
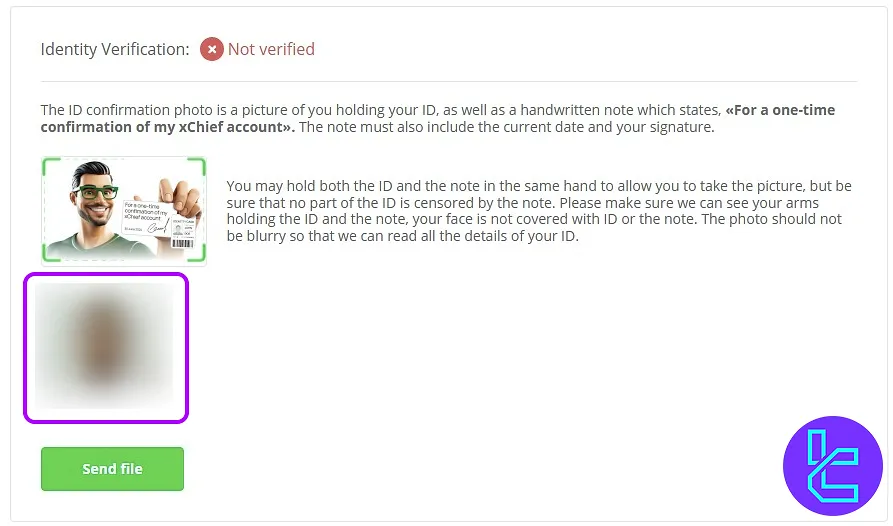
#3 Take an Identification Selfie
Take a selfie holding your document in front of your face and upload it. This helps xChief ensure the document belongs to you.
If your initial KYC is rejected, xChief may prompt you to verify via mobile phone. Download the xChief Broker app from your device's store and log in using your email and the code sent to you.
Go to the profile section and select "Verify Your Identity". Choose from:
- Passport
- ID card
This step ensures compatibility with your device's camera and more accurate document scanning. After selecting your document type, follow the mobile instructions:
- Take a picture of the front side of the document;
- Take a picture of the back side;
- Take a clear selfie of yourself.
Approval typically takes around an hour, and your profile will become fully active afterward.
TF Expert Suggestion
The xChief verification process typically takes less than 10 minutes when all required documents are ready, with approval usually completed within an hour.
Detailed guides for the different xChief deposit and withdrawal methods are available on the xChief tutorial page.


