


The Bitonic registration takes 4 steps. Provide your email and phone number, verify them, and set a secure password to complete signup.
After completing the signup, Bitonic allows trading exclusively in Bitcoin (BTC) vs Euros (EUR), with a minimum purchase of around €10 and no deposit minimum. The platform supports only cryptocurrency spot trading, with no options for leverage, margin, or futures.
Overview of the Bitonic Account Setup Process
Getting started on Bitonic exchange is quick and easy, providing immediate access to your personal trading dashboard. Bitonic registration steps:
- How to access the Bitonic Exchange website;
- Choose the account type;
- Enter your email and create a password;
- Email verification code;
- Submit mobile phone number;
- Verify mobile number.
Before signing up, review the account requirements and have all required information ready.
Registration Requirements | Yes/No |
Email Sign-up | Yes |
Phone Number Required | Yes |
Google Account Login | No |
Apple ID Login | No |
Facebook Login | No |
Full Name | No |
Country of Residence | No |
Date of Birth | No |
Address Details | No |
Email Verification | Yes |
Phone Number Verification | Yes |
Financial Status Questionnaire | No |
Trading Experience Questionnaire | No |
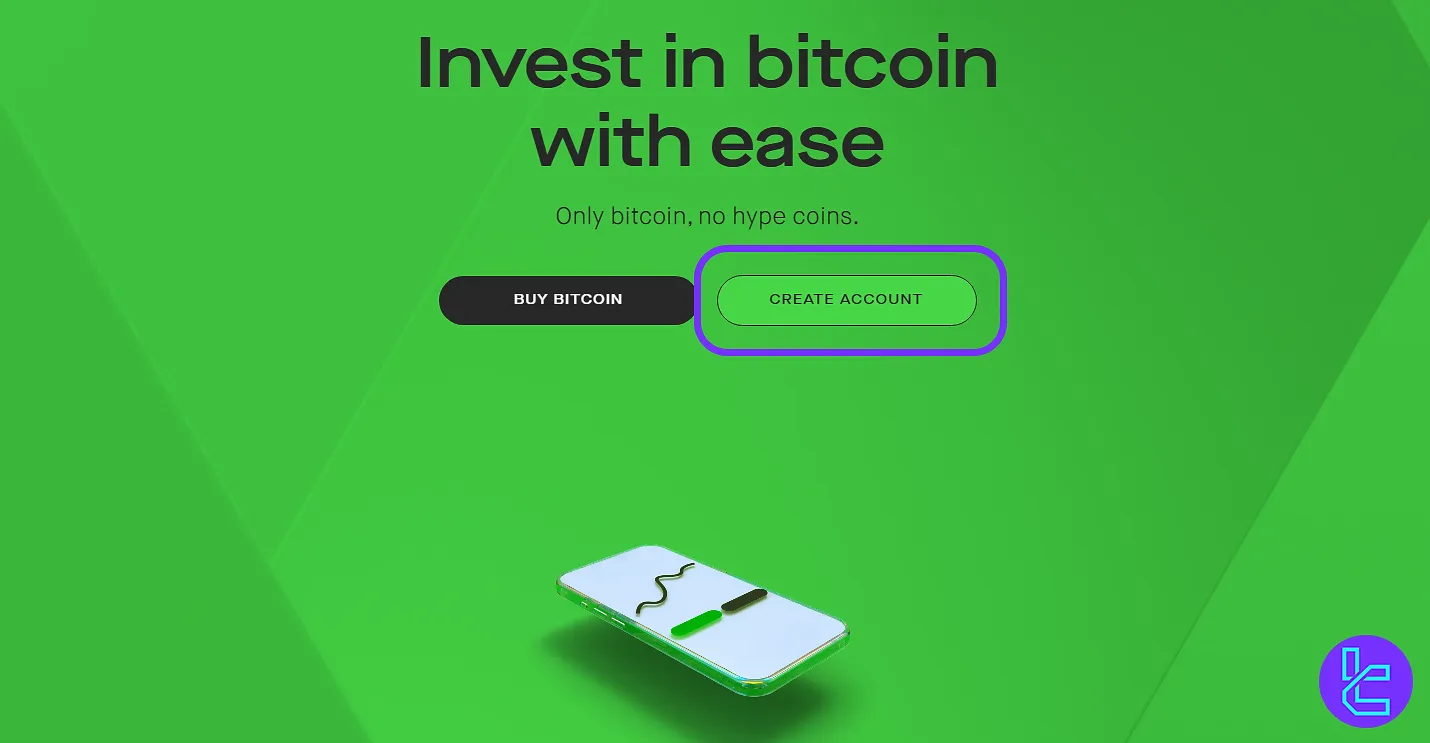
#1 Visit the Official Website
Starting your journey takes just a moment. Here's how to do it:
- Open your preferred browser, search "Bitonic Exchange", and visit the official website.
- Once on the homepage, click "Create Account" to start creating your account.
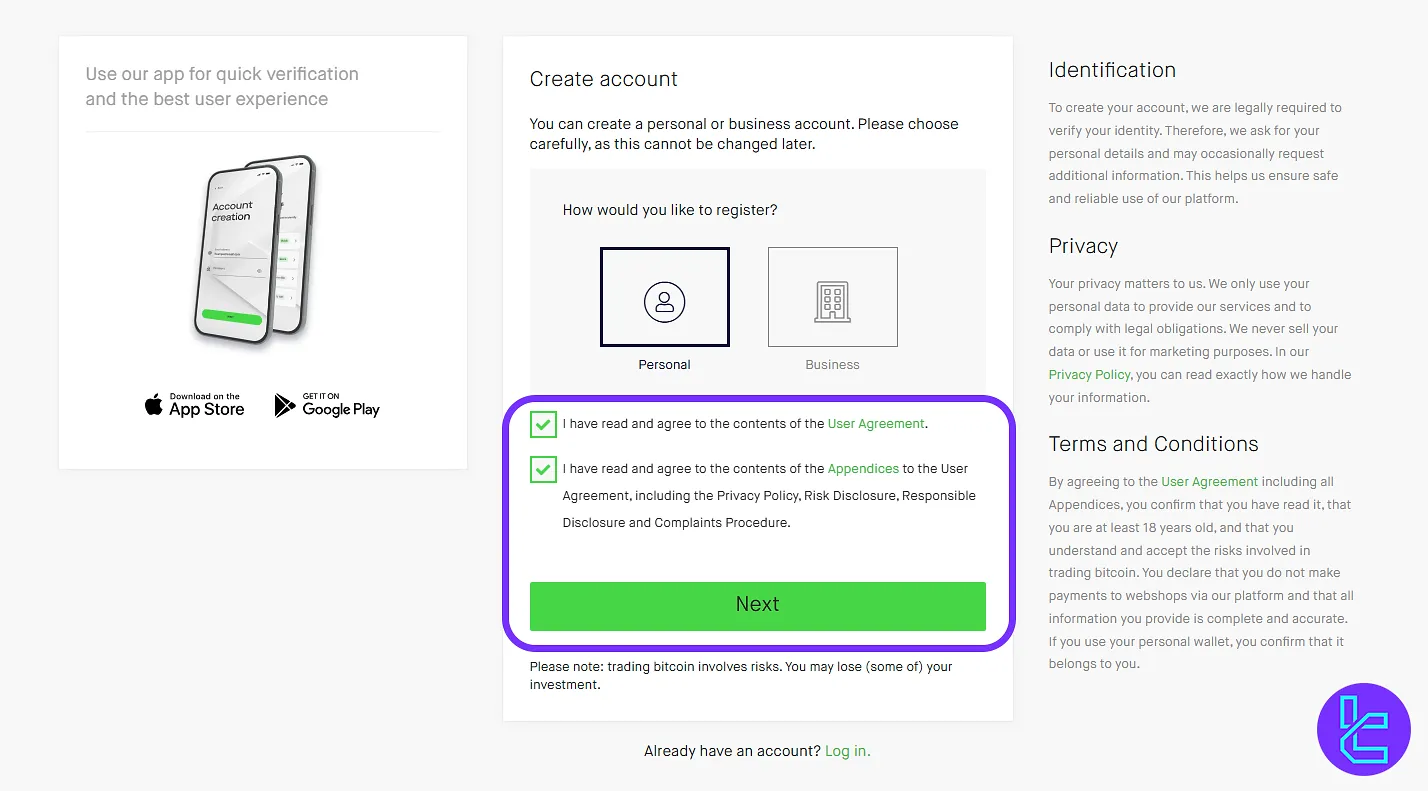
#2 Choose the Account Type
Select your preferred account type; you can pick between a Personal Account or a Business Account. In this Bitonic tutorial, we selected a personal account.
Check the required boxes to accept Bitonic Exchange's terms and privacy policy before proceeding.
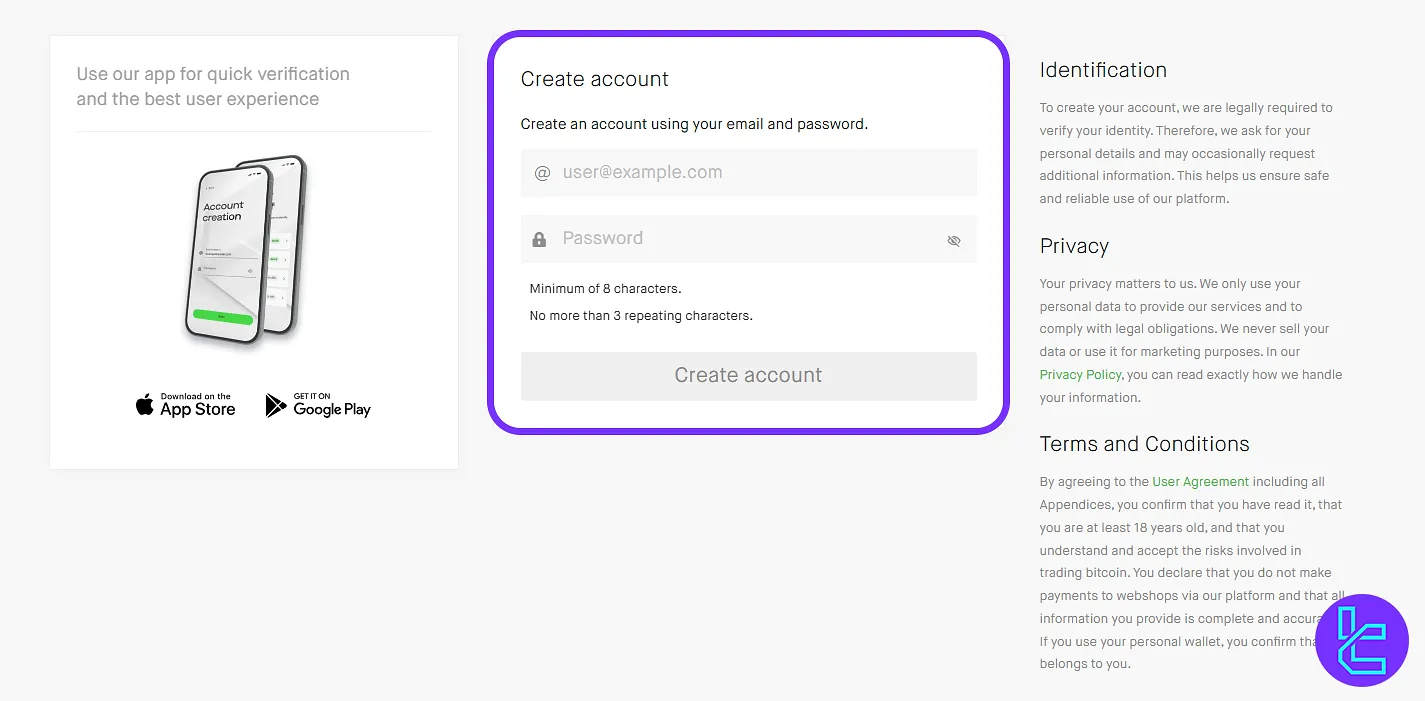
#3 Enter Your Email and Password
Please enter your email address and create a strong password. Use uppercase and lowercase letters, numbers, and symbols, and ensure it's at least 8 characters long.
Once your details are entered, click "Create Account" to submit your signup form.
#3 Verify Your Email Address
Check your inbox for an email from Bitonic, copy the provided verification code, and paste it into the verification field on the website.

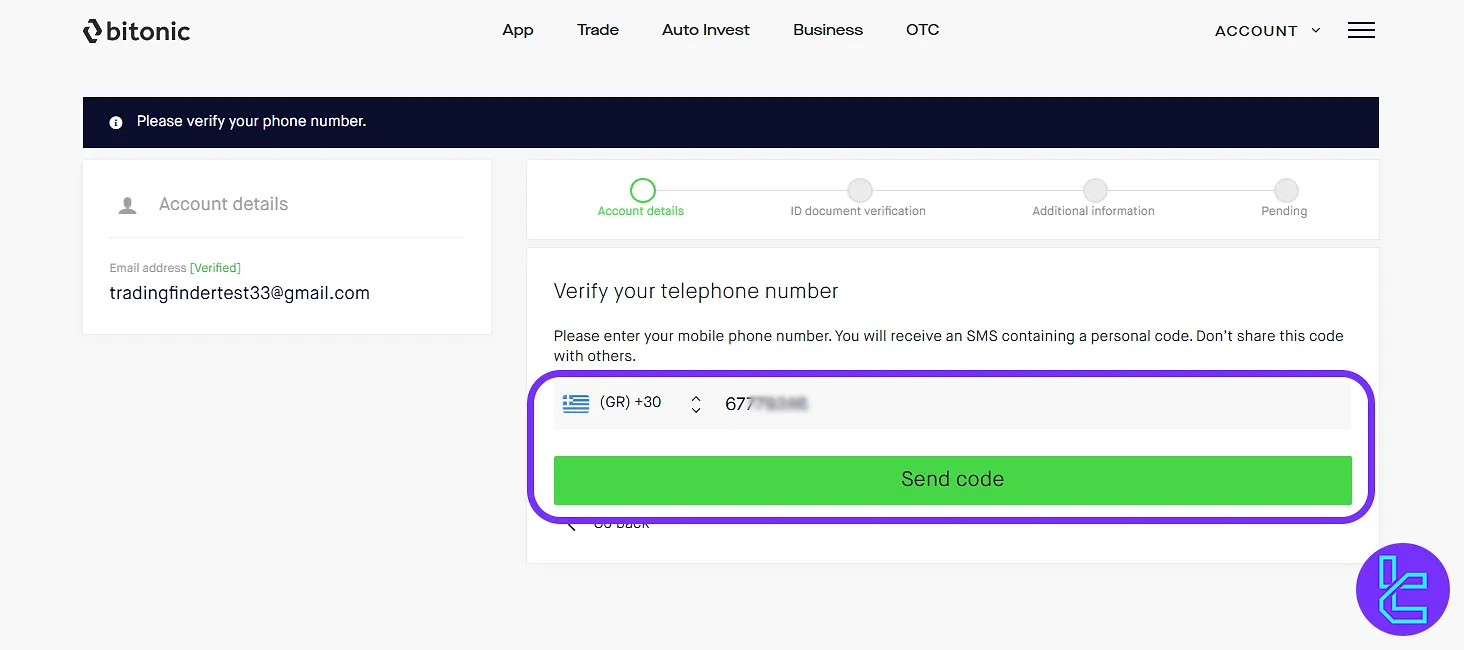
#4 Enter Your Mobile Phone Number
Select the country code from the dropdown list and enter your mobile number.
Enter your phone number and click on "Send Code"; then verify the code you receive via SMS to secure your account.
Analysis and Comparison of Bitonic's Account Creation Process with Competing Exchanges
The following table outlines the primary signup prerequisites and identity verification steps required to establish a Bitonic account. It also provides a side-by-side comparison of how other leading cryptocurrency exchanges handle their signup procedures.
Registration Requirements | Bitonic Exchange | |||
Email Sign-up | Yes | Yes | Yes | Yes |
Phone Number Required | Yes | No | No | No |
Google Account Login | No | Yes | Yes | Yes |
Apple ID Login | No | Yes | Yes | Yes |
Facebook Login | No | No | No | No |
Full Name | No | No | No | No |
Country of Residence | No | No | No | No |
Date of Birth | No | No | No | No |
Address Details | No | No | No | No |
Email Verification | Yes | Yes | Yes | Yes |
Phone Number Verification | Yes | No | No | No |
Financial Status Questionnaire | No | No | No | No |
Trading Experience Questionnaire | No | No | No | No |
TF Expert Suggestion
The Bitonic registration process typically takes around 4 minutes. To begin, provide your email address and phone number, and then verify both to proceed.
After completing your Bitonic verification process, you can proceed to make deposits and withdrawals. Deposits can be made via iDEAL (no fee) or Bancontact (a 0.5% fee applies).


