


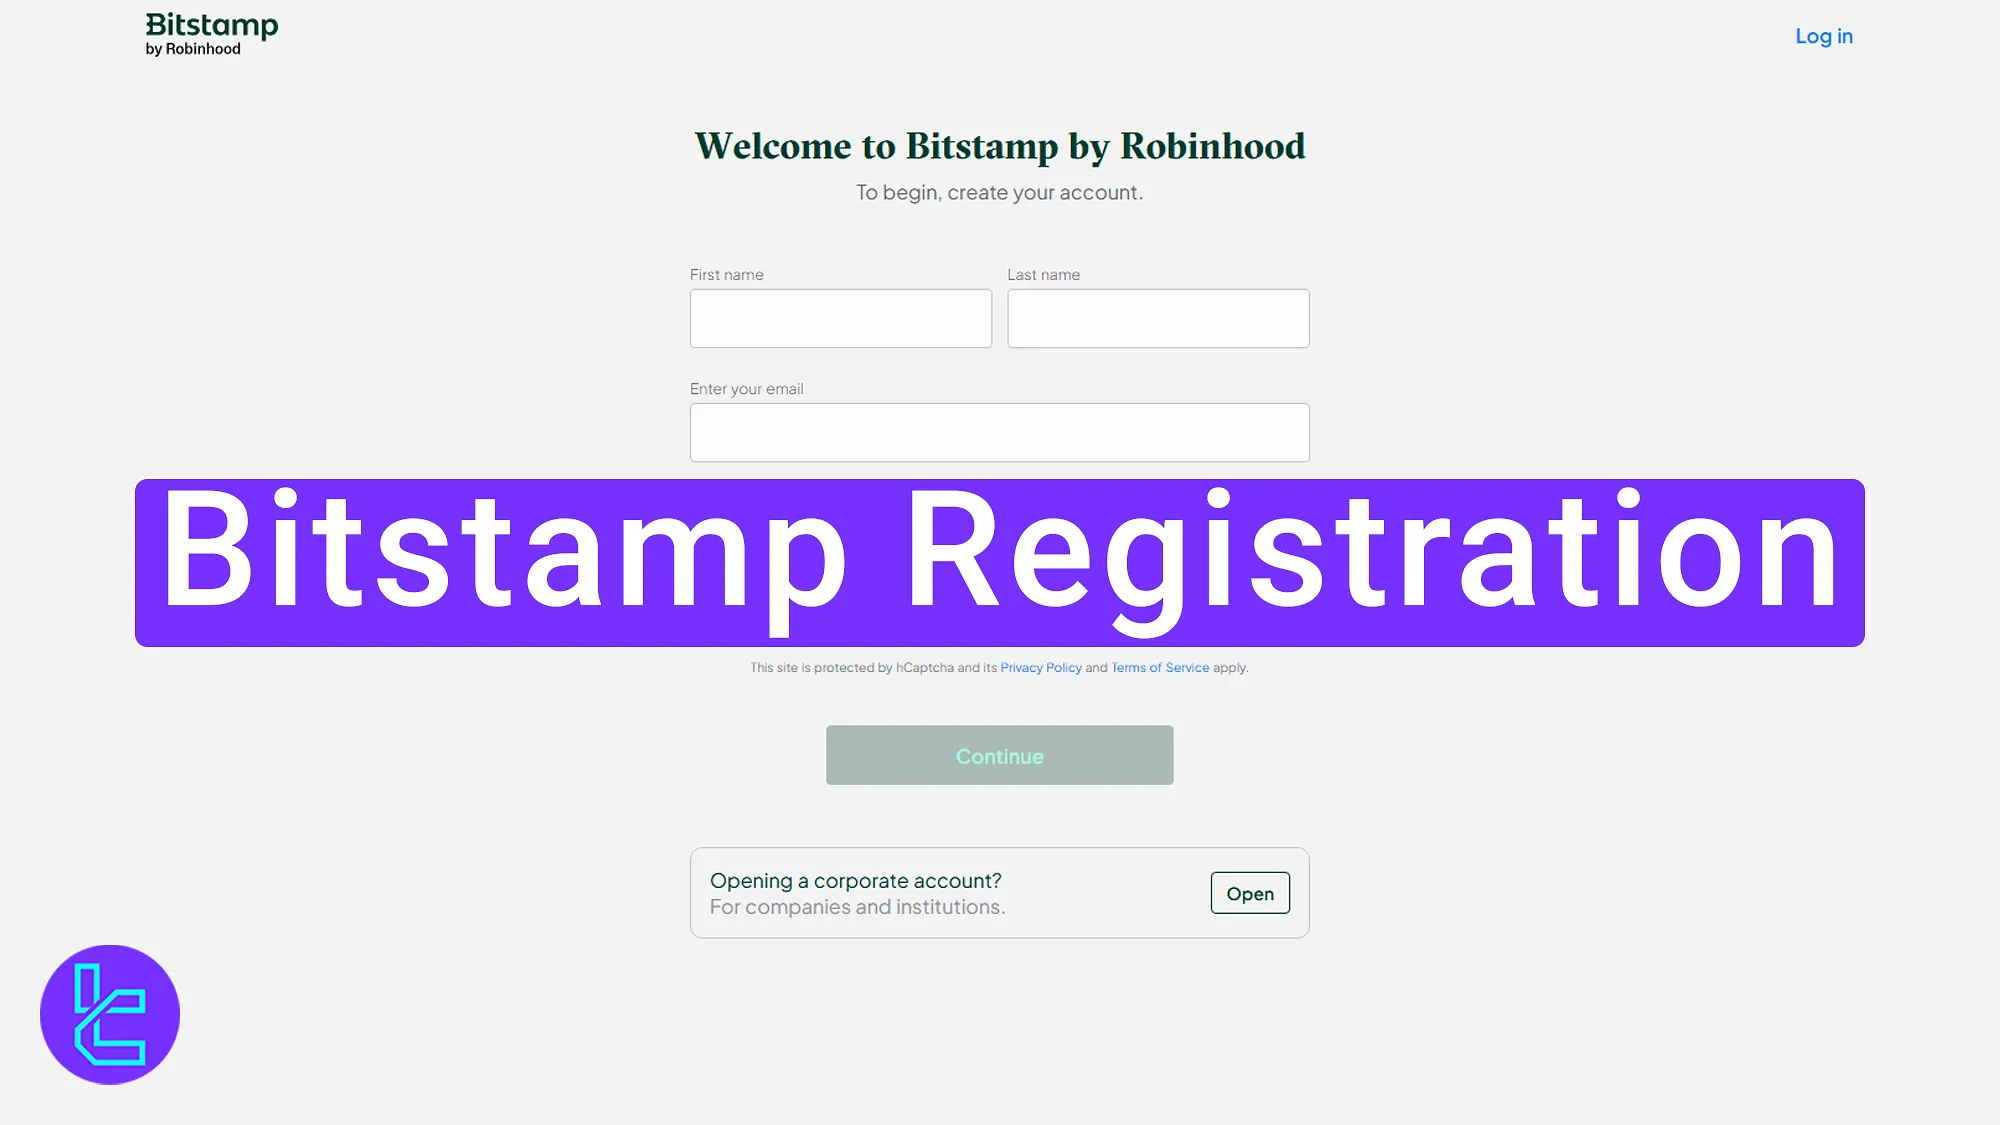
Bitstamp registration is a simple process that takes less than 6 minutes to complete. After opening an account, users can trade over 130+ supported cryptocurrencies with fees starting from 0.30% down to 0.00%, and minimum trade amounts of just $10.
The process includes entering your name, last name, email, and date of birth, confirming your country of residence, verifying your email, and finally creating a secure password.
Bitstamp Signup Guide for Beginners
To open an account with the Bitstamp exchange, follow these quick steps:
- Access the Bitstamp website and click “Get Started”;
- Enter name, last name, email, and date of birth;
- Choose country, and agree to terms;
- Verify your email;
- Create a strong password.
Before explaining each step, you must check the table below to provide all the necessary information to open an account with Bitstamp centralized cryptocurrency exchange.
Registration Requirements | Yes/No |
Email Sign-up | Yes |
Phone Number Required | No |
Google Account Login | No |
Apple ID Login | No |
Facebook Login | No |
Full Name | Yes |
Country of Residence | Yes |
Date of Birth | Yes |
Address Details | No |
Email Verification | Yes |
Phone Number Verification | No |
Financial Status Questionnaire | No |
Trading Experience Questionnaire | No |
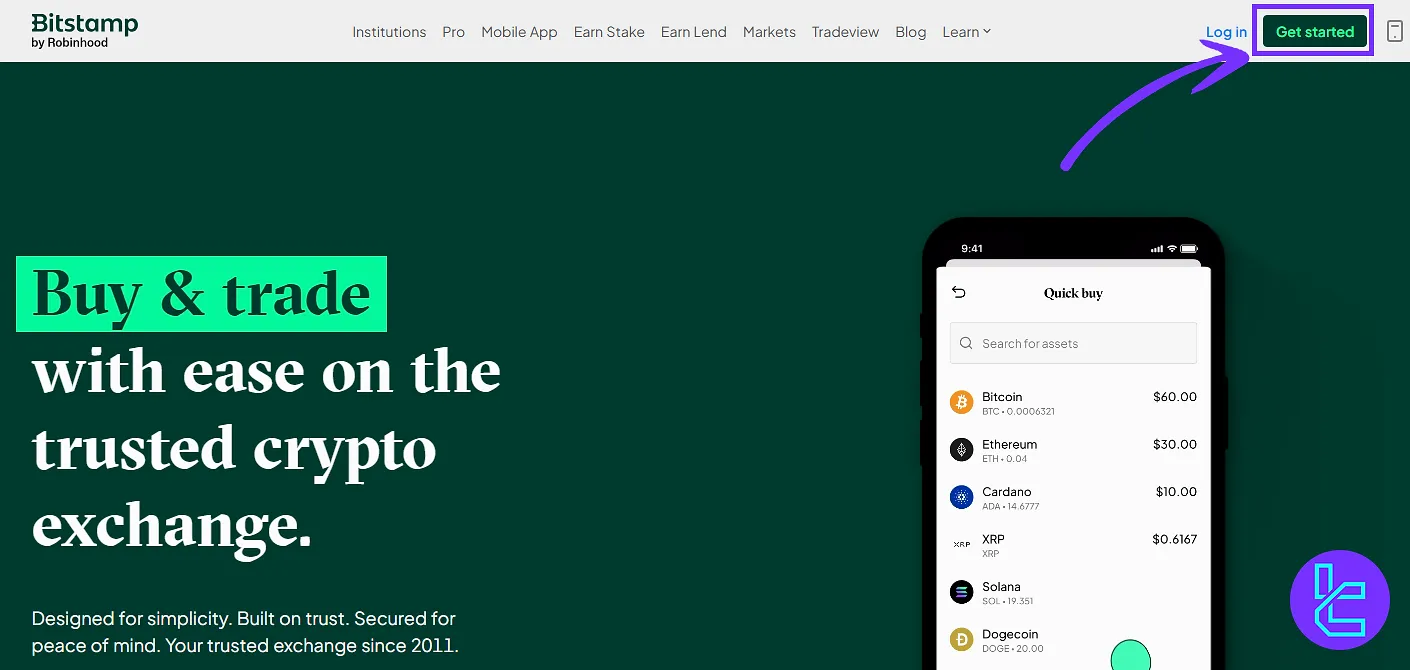
#1 Open Bitstamp Signup Page
Enter the Bitstamp website by finding it on your preferred browser and click on “Get Started” to begin the signup process.
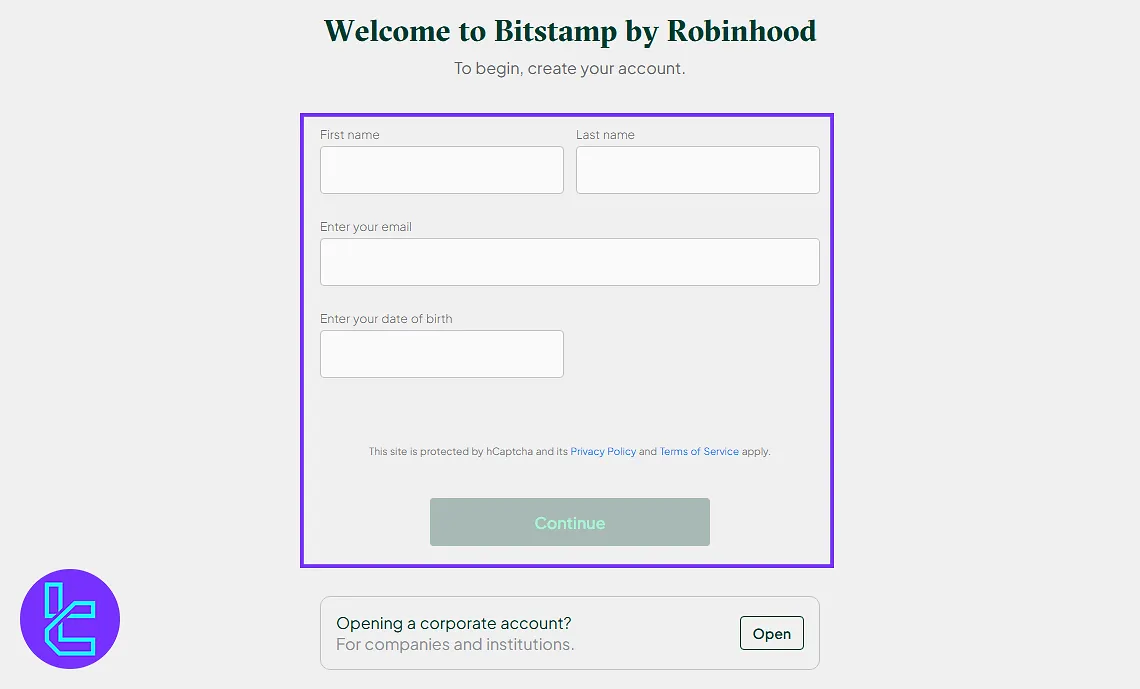
#2 Enter Personal Details
On the provided page, you should put a few details:
- First name
- Last name
- Email address
- Date of birth
Click “Continue” to proceed.
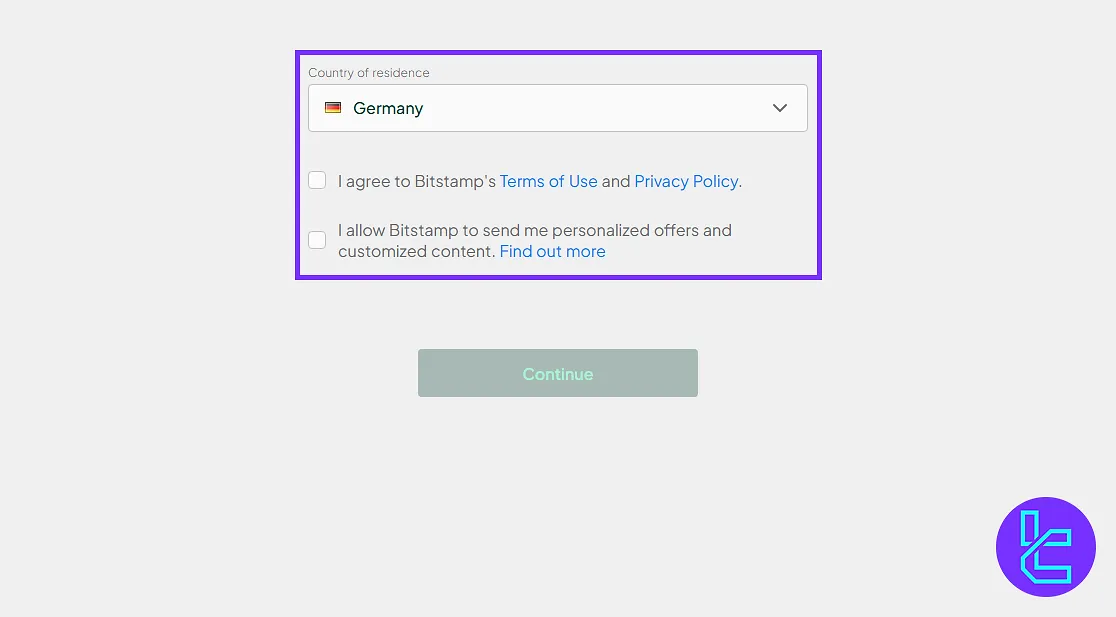
#3 Select Your Country of Residence
On the next page, you choose your country:
- Select your country of residence from the drop-down list;
- Agree to terms & conditions;
- Click “Continue”.
#4 Verify Your Email
Open your email inbox, find the Bitstamp email, and click “Confirm Email”.

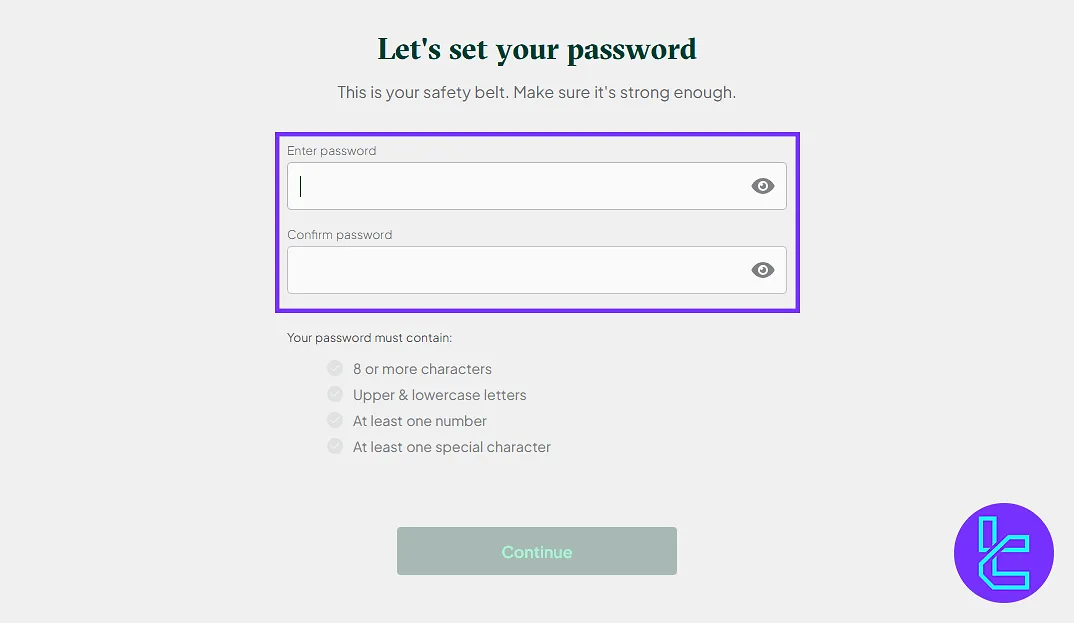
#5 Set a Password for Your Account
On the next page, enter a strong password (uppercase, lowercase, numbers, symbols, min 8 characters); then, click “Continue”.
BitStamp Signup vs Other Exchanges
The table below provides a complete comparison of the account creation procedure on Bitstamp and 3 other well-known exchanges.
Registration Requirements | Bitstamp Exchange | |||
Email Sign-up | Yes | Yes | Yes | Yes |
Phone Number Required | No | Yes | No | No |
Google Account Login | No | Yes | Yes | Yes |
Apple ID Login | No | Yes | Yes | Yes |
Facebook Login | No | No | No | No |
Full Name | Yes | No | No | No |
Country of Residence | Yes | Yes | No | No |
Date of Birth | Yes | No | No | No |
Address Details | No | No | No | No |
Email Verification | Yes | Yes | Yes | Yes |
Phone Number Verification | No | Yes | No | No |
Financial Status Questionnaire | No | No | No | No |
Trading Experience Questionnaire | No | No | No | No |
Conclusion and Final Words
Bitstamp registration is now completed in 4 steps. The process requires around 6-7 input fields plus one confirmation box. To set a secure password, use a minimum 8-character mix of number, symbols, and letters.
Make sure you provide correct information, so that you don't get in trouble with Bitstamp verification. Check out our other guides on the Bitstamp tutorials section.


