


The Slex registration process takes only 4 easy steps. Start by providing your email address and setting a strong password to create your account. Next, verify your email using the confirmation code sent to you.
After completing your account setup, you can start trading with standard fees ranging from 0.10% to 0.20% for both makers and takers. The platform also offers access to over 100 trading pairs across 80+ cryptocurrencies and tokenized commodities.
Overview of Slex Signup Steps
Getting started with the Slex exchange is fast and effortless, giving you instant access to your trading dashboard. Slex registration process:
- Visit the account setup page;
- Fill out the signup form;
- Verify your email address;
- Log in to your Slex account.
Before signing up, make sure you've reviewed the account requirements and have all necessary information ready.
Registration Requirements | Yes/No |
Email Sign-up | Yes |
Phone Number Required | No |
Google Account Login | No |
Apple ID Login | No |
Facebook Login | No |
Full Name | No |
Country of Residence | No |
Date of Birth | No |
Address Details | No |
Email Verification | Yes |
Phone Number Verification | No |
Financial Status Questionnaire | No |
Trading Experience Questionnaire | No |
#1 Visit the Official Slex Signup Page
Getting started is fast and straightforward. Here's how:
- Click the "Open an Account" button located at the bottom of this page;
- You'll be redirected to the official Slex account setup page to finalize your account setup.
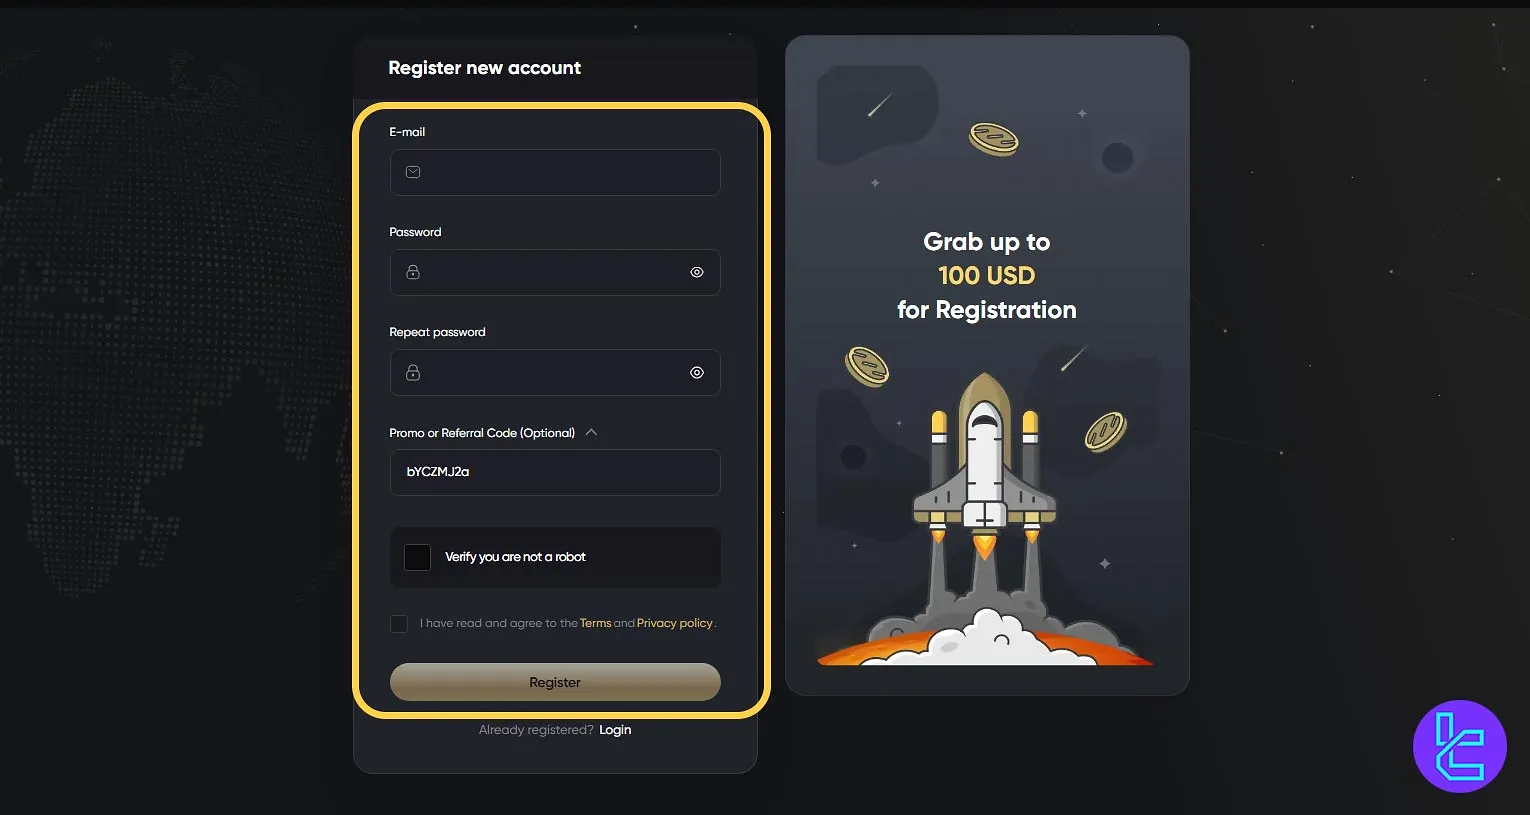
#2 Enter Your Email Address
Input a working email address in this Slex tutorial, as this will be needed for verification and account recovery. Choose a secure password containing uppercase and lowercase letters, symbols, and numbers, with a minimum of 8 characters; this strengthens your account's protection.
Re-enter your password to confirm and click "Register". Check the boxes to agree to the Terms and Conditions and Privacy Policy. Reviewing these helps you understand the platform's usage guidelines.
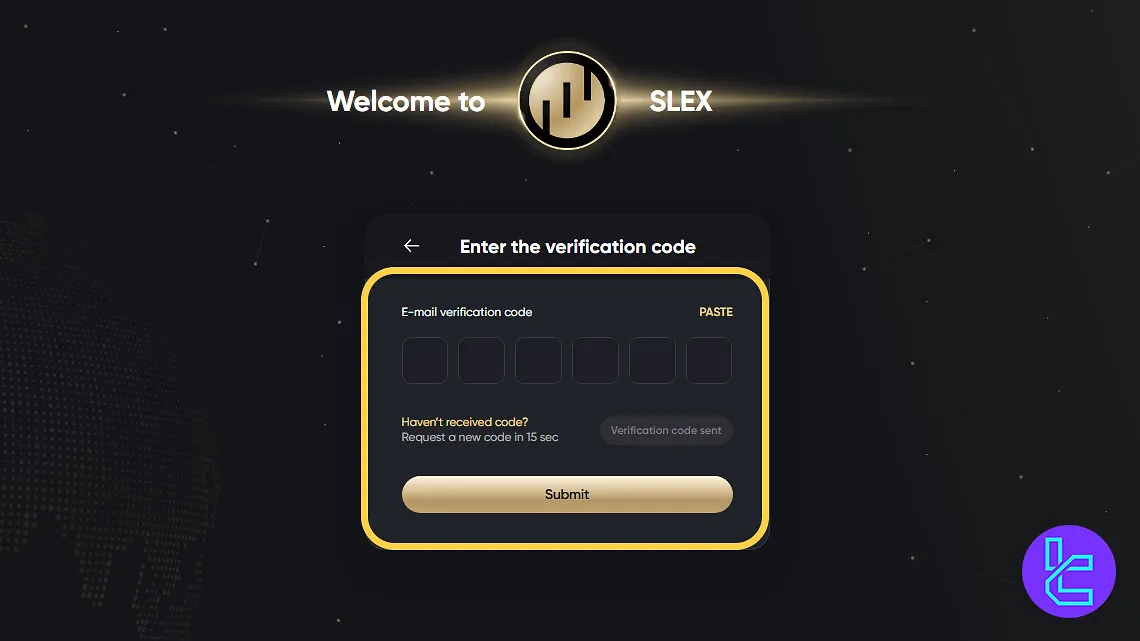
#3 Confirm Your Email Address
Go to your email inbox and locate the message from Slex Exchange. Click the confirmation link to verify your ownership of the email.
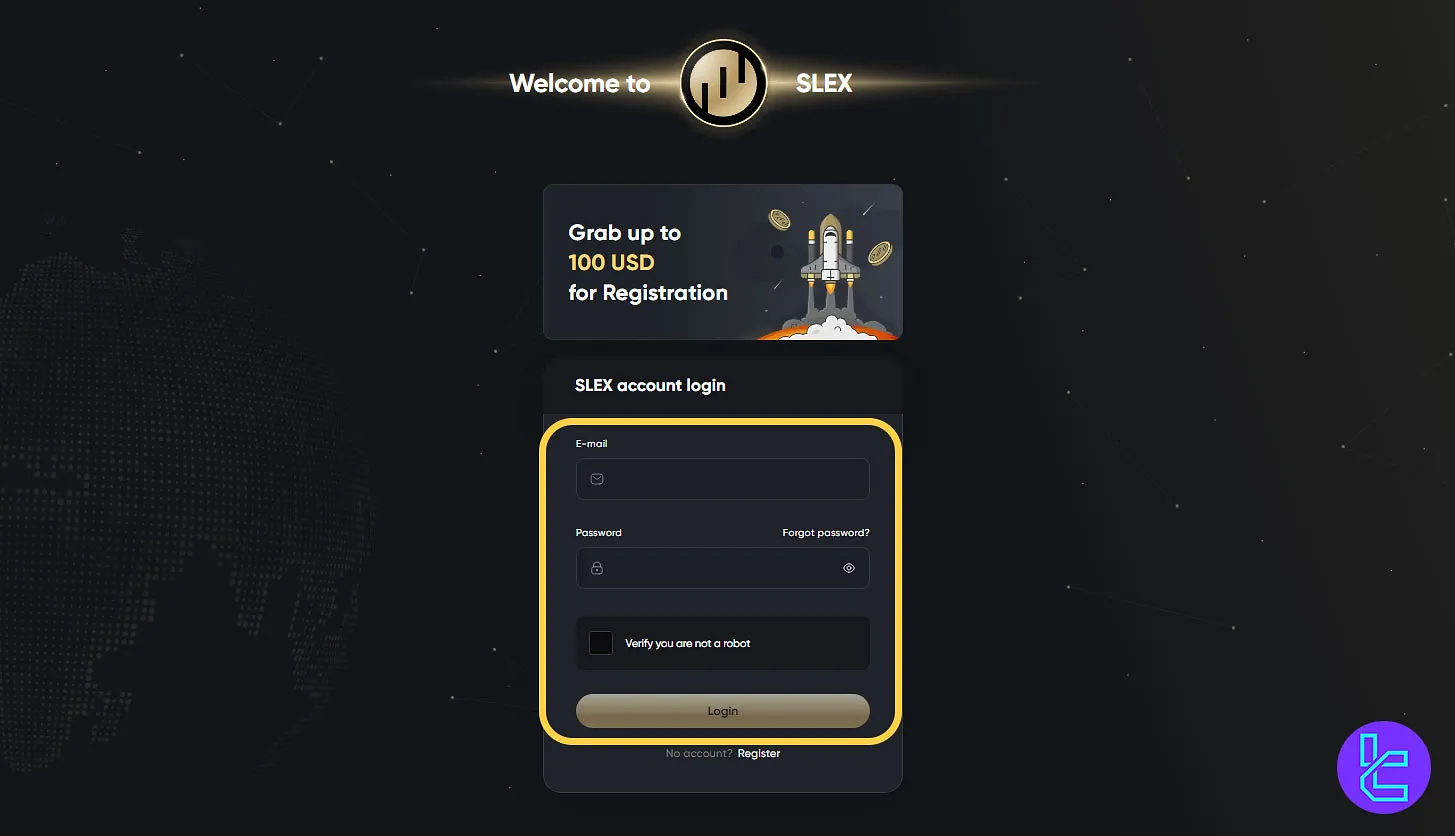
#4 Access Your Account Dashboard
After completing registration, you can access your user dashboard by entering your email address and password, followed by the 2FA verification code sent to your email, to log in securely.
Comparison and Analysis of Slex Account Creation Among Major Exchanges
The table below outlines the primary prerequisites and verification steps required to open a Slex account. It provides a side-by-side comparison of how top cryptocurrency exchanges handle user account setup.
Registration Requirements | Slex Exchange | |||
Email Sign-up | Yes | Yes | Yes | Yes |
Phone Number Required | No | No | No | No |
Google Account Login | No | Yes | Yes | Yes |
Apple ID Login | No | Yes | No | Yes |
Facebook Login | No | No | No | No |
Full Name | No | No | No | No |
Country of Residence | No | No | No | No |
Date of Birth | No | No | No | No |
Address Details | No | No | No | No |
Email Verification | Yes | Yes | Yes | Yes |
Phone Number Verification | No | No | No | No |
Financial Status Questionnaire | No | No | No | No |
Trading Experience Questionnaire | No | No | No | No |
TF Expert Suggestion
The Slex registration process usually takes about 4 minutes to finish. Just provide your email, verify it, and create a secure password to finalize your account creation.
Next, you'll need to complete the Slex verification process to access fiat deposits through cards and bank transfers (SWIFT/SEPA) with a low minimum of about $5.


