


VirgoCX registration is a simple 3-step process. Go to the official VirgoCX website, open an account with your email and a strong password, then confirm your email to finalize account activation.
After VirgoCX account setup, you can trade over 90 cryptocurrencies with low commissions. Deposits in fiat are free via Interac e-Transfer, while credit card deposits incur around 3.99%.
Step-by-Step VirgoCX Setup Process
Starting with VirgoCX Exchange is user-friendly and straightforward, providing quick access to your personal dashboard. VirgoCX registration overview:
- Navigate to the VirgoCX signup page;
- Set up a new account with a verified email and secure password;
- Confirm your email address to activate your account.
Before opening an account on VirgoCX, it's advisable to review the signup requirements and prepare the necessary information needed to register on this centralized cryptocurrency exchange.
Registration Requirements | Yes/No |
Email Sign-up | Yes |
Phone Number Required | No |
Google Account Login | Yes |
Apple ID Login | Yes |
Facebook Login | No |
Full Name | No |
Country of Residence | No |
Date of Birth | No |
Address Details | No |
Email Verification | Yes |
Phone Number Verification | No |
Financial Status Questionnaire | No |
Trading Experience Questionnaire | No |
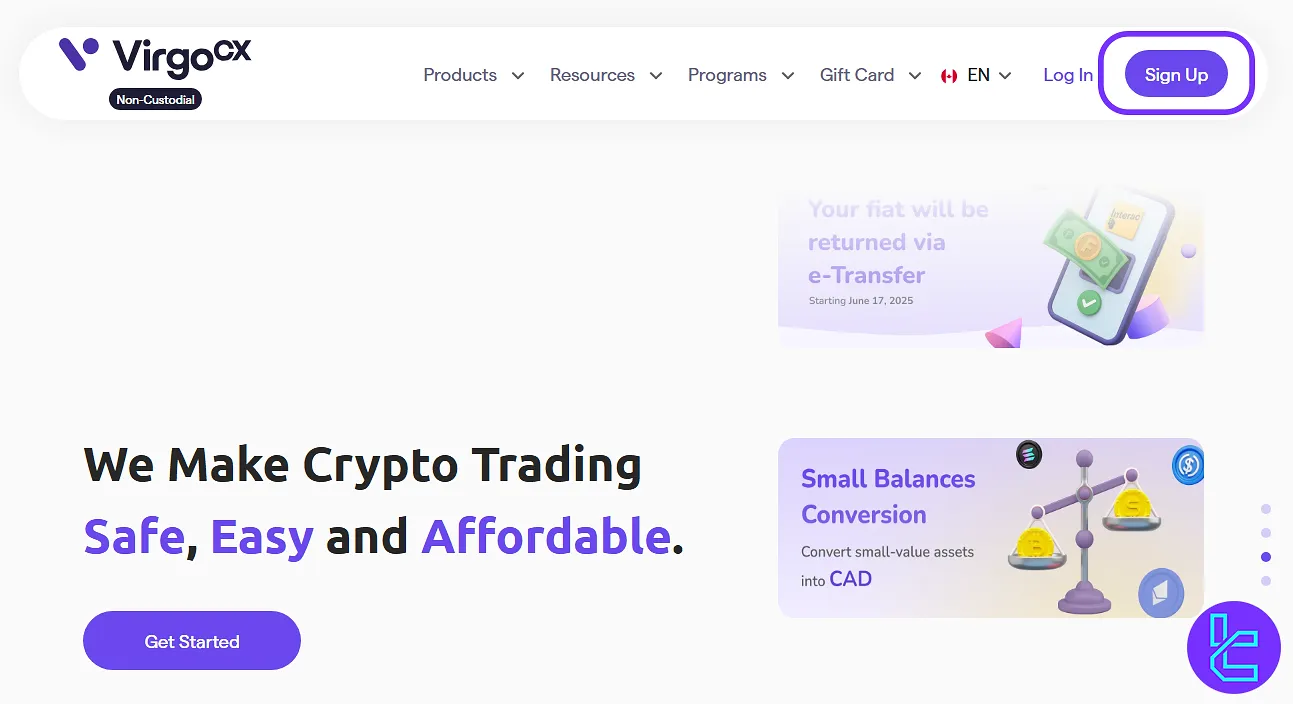
#1 Access the VirgoCX Website
Starting is easy. Follow the steps below:
- Open your browser, search for VirgoCX, and access the official website.
- On the exchange's main page, select "Sign Up" to continue.
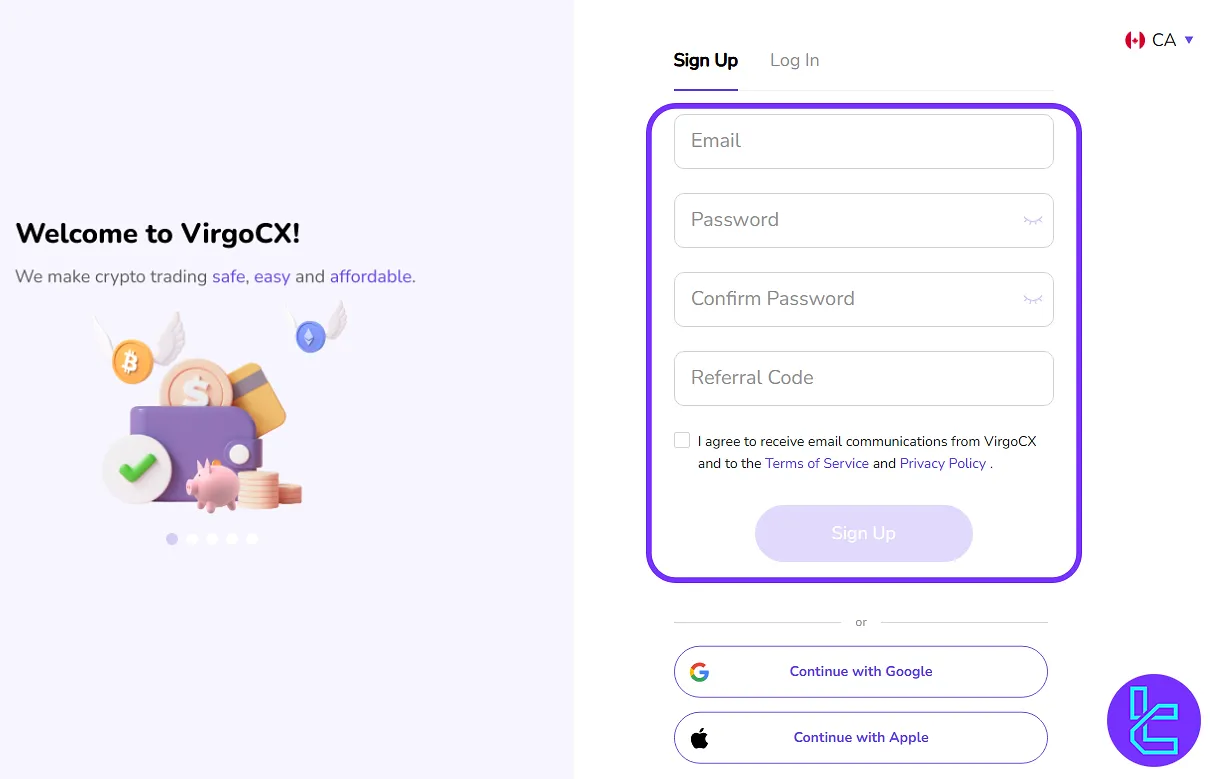
#2 Choose Setup Method
Select whether you want to register via email, Google, or Apple. For simplicity, we will proceed with email. Enter your valid email address to ensure you receive the confirmation code later.
Create a password with at least 8 characters, including uppercase, lowercase, numbers, and symbols. Re-enter the same password in the confirmation field to avoid mistakes.
If you have a referral code, type it into the designated box. Check the box to confirm agreement with VirgoCX terms and conditions. After completing all fields, click the "Sign Up" button to continue.
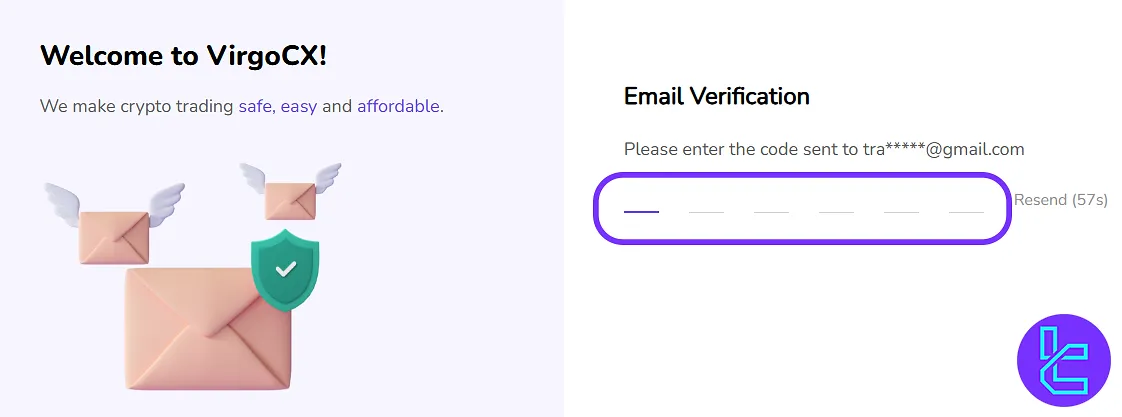
#3 Verify Your Email
Check your inbox for a VirgoCX email, copy the verification code, and paste it into the signup form.
Assessment and Comparison of VirgoCX's Signup Process with Other Exchanges
The table below presents the membership criteria and necessary documentation for registering on VirgoCX, in contrast to those of other cryptocurrency exchanges.
Registration Requirements | VirgoCX Exchange | |||
Email Sign-up | Yes | Yes | Yes | Yes |
Phone Number Required | No | No | No | No |
Google Account Login | Yes | Yes | Yes | Yes |
Apple ID Login | Yes | Yes | Yes | Yes |
Facebook Login | No | No | No | No |
Full Name | No | No | No | No |
Country of Residence | No | No | No | No |
Date of Birth | No | No | No | No |
Address Details | No | No | No | No |
Email Verification | Yes | Yes | Yes | Yes |
Phone Number Verification | No | No | No | No |
Financial Status Questionnaire | No | No | No | No |
Trading Experience Questionnaire | No | No | No | No |
TF Expert Suggestion
VirgoCX registration usually takes around 5 minutes. You'll need to provide a few basic details, such as your email address and a strong password.
After setting up your account, you can move forward with the VirgoCX verification process. For detailed guidance, refer to the step-by-step instructions on the VirgoCX tutorial page.


