


Trive Registration is a quick process that takes just 5 minutes. You will need basic details like your email, phone number, nationality, and ID to complete the sign-up.
Traders who open an account with the Trive broker can choose from three different account types: Classic, Prime, and Prime Plus. These account types offer leverage of up to 1:30 and minimum spreads starting from 0.1 pips.
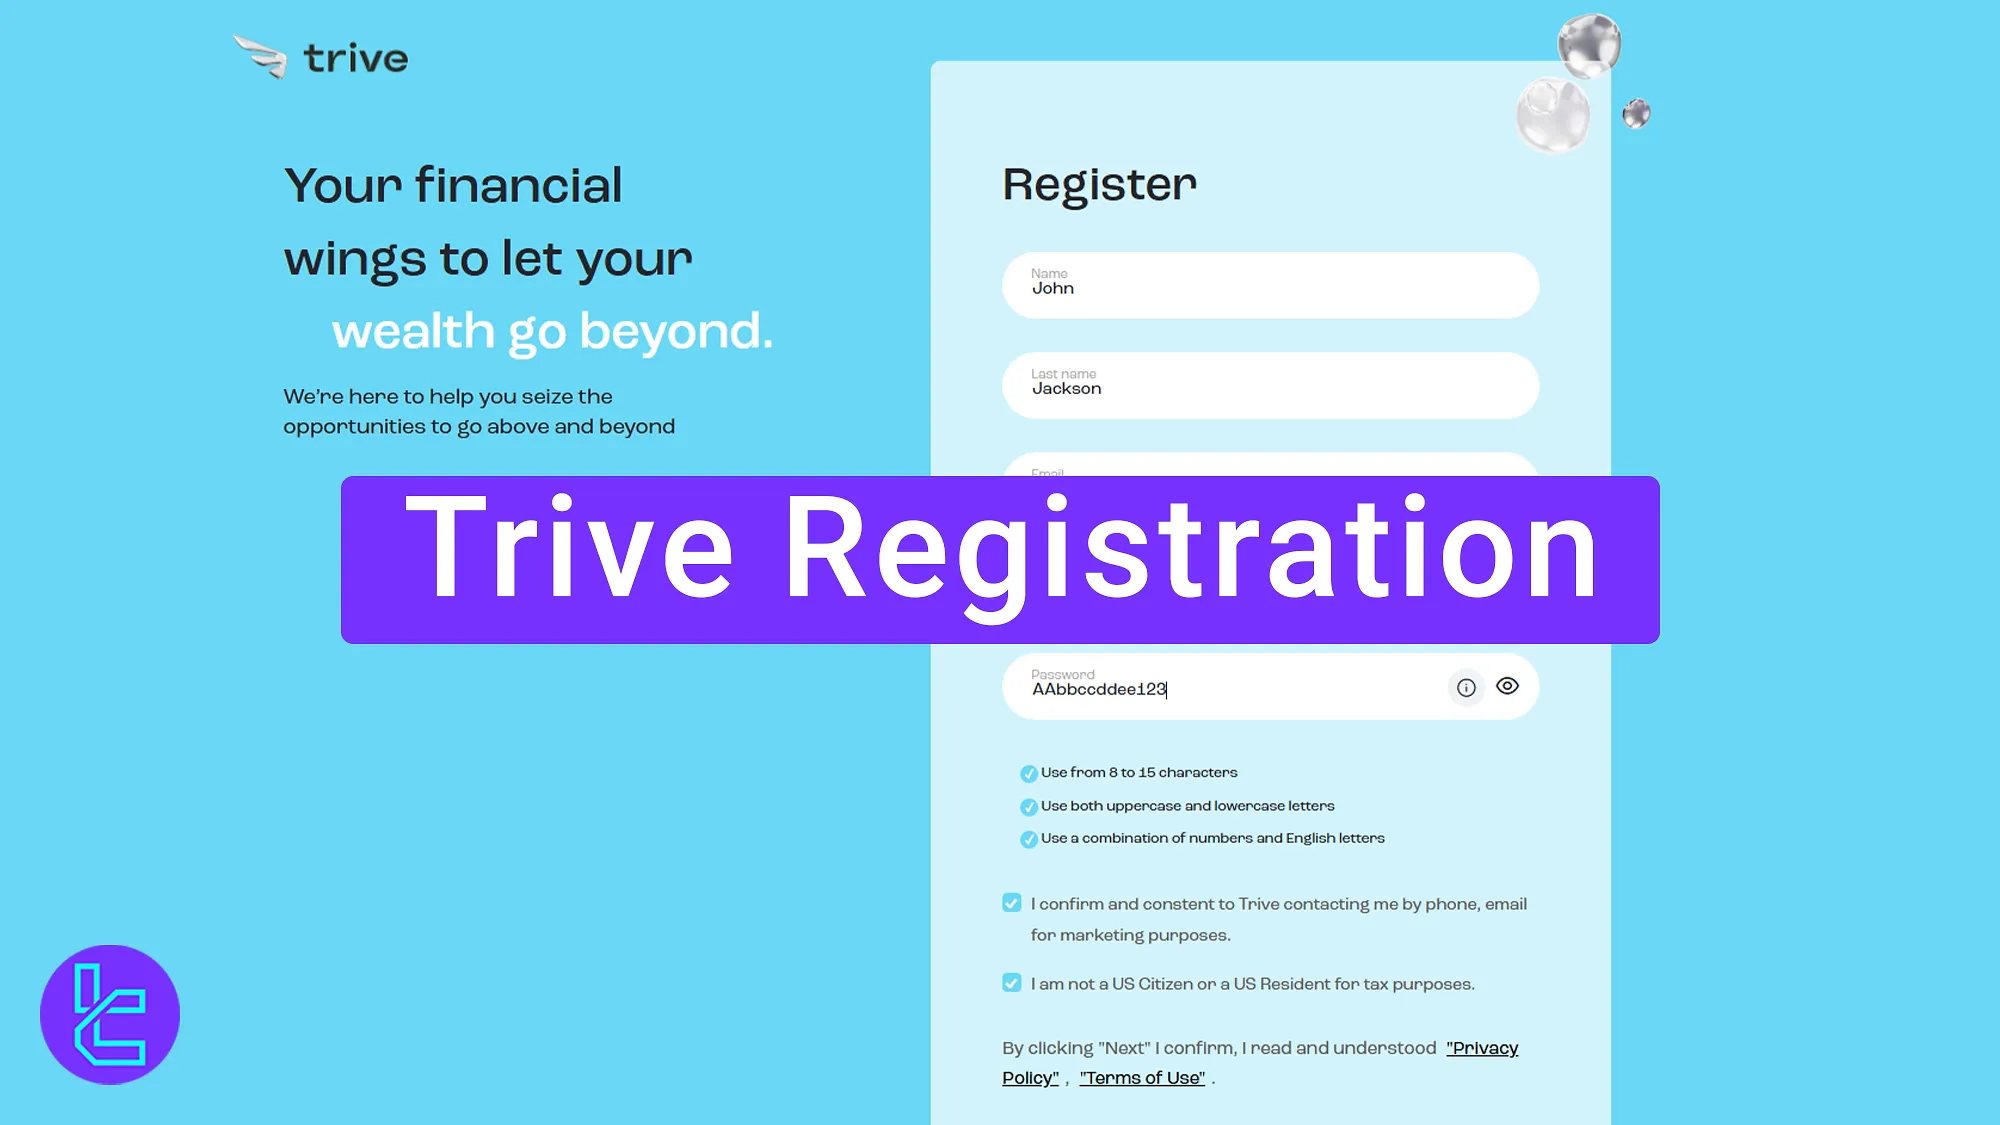
Trive Broker Signup Steps
Signing up with Trive Broker is simple; Trive Account Opening Process:
- Visit the Trive Broker website and click Register;
- Enter your personal information (name, email, phone number, and password;)
- Confirm your working preferences and accept the terms;
- Provide additional details such as gender, nationality, and employment status;
- Enter your financial details and complete registration.
Ensure the following information is ready before starting the Trive signup process.
Registration Requirements | Yes/No |
Email Sign-up | Yes |
Phone Number Required | Yes |
Google Account Login | No |
Apple ID Login | No |
Facebook Login | No |
Full Name | Yes |
Country of Residence | Yes |
Date of Birth | Yes |
Address Details | Yes |
Email Verification | No |
Phone Number Verification | No |
Financial Status Questionnaire | Yes |
Trading Experience Questionnaire | No |
#1 Visit the Trive Broker Signup Page
- Scroll down this page and click Open an Account;
- On the homepage, click the Register button.

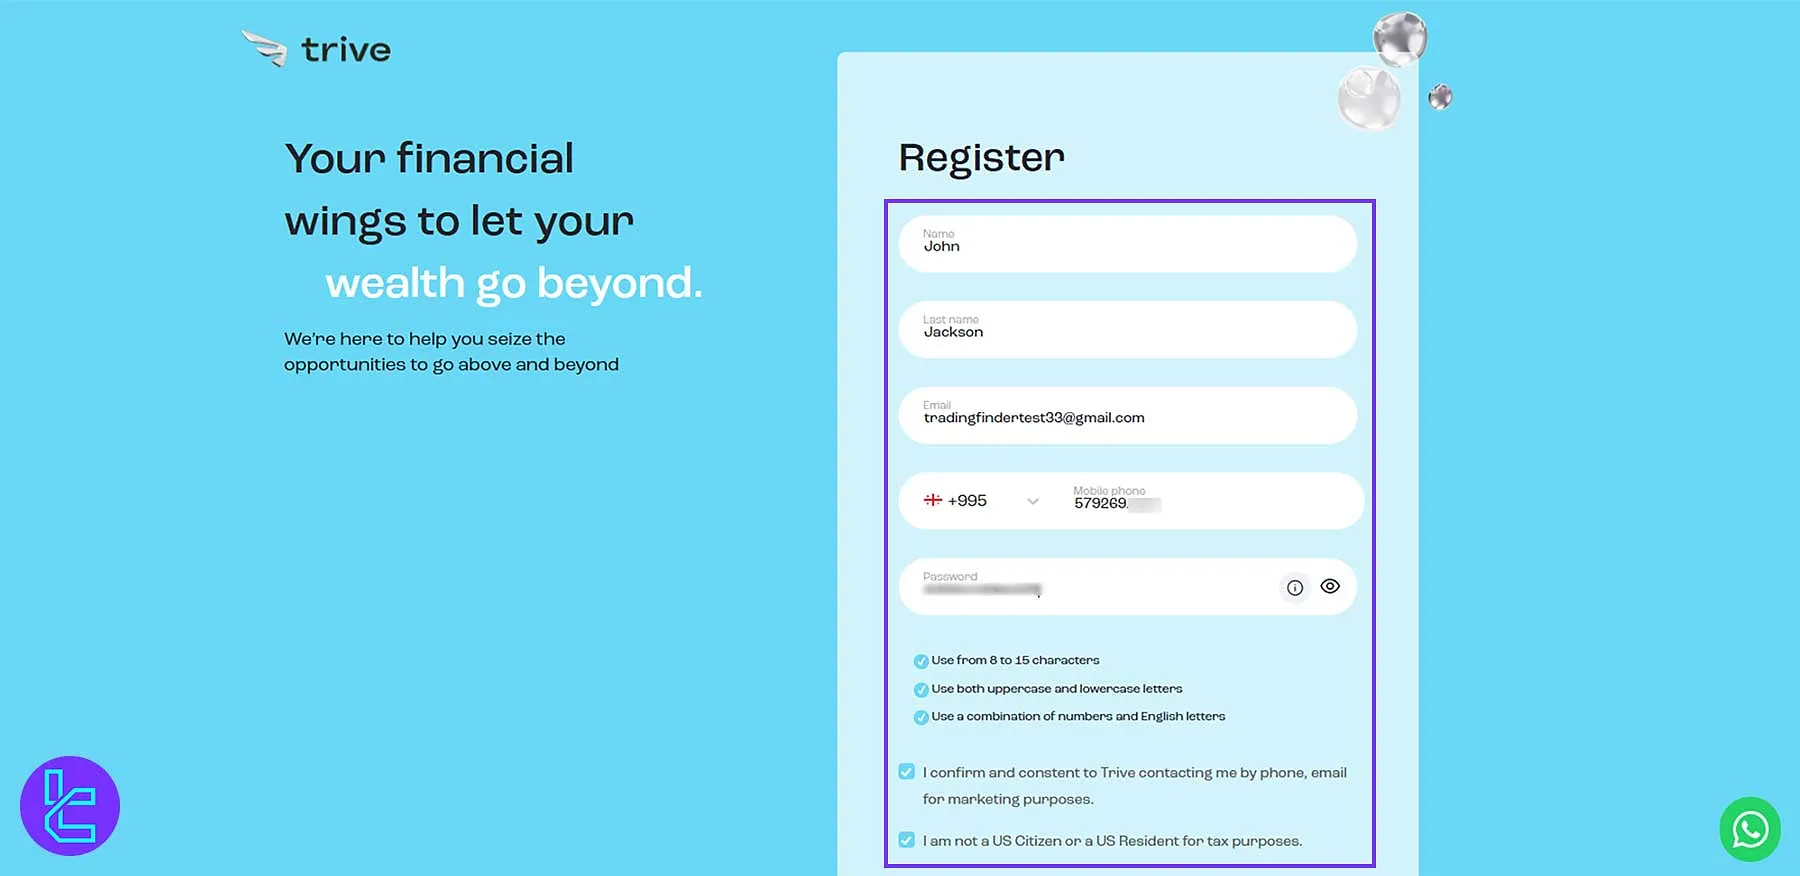
#2 Enter Your Personal Information on Trive Broker
- Enter your first name, last name, email address, and mobile number;
- Create a strong password (8-15 characters, including uppercase, lowercase, numbers, and symbols;)
- Accept the terms and conditions by checking the box;
- Click Next.
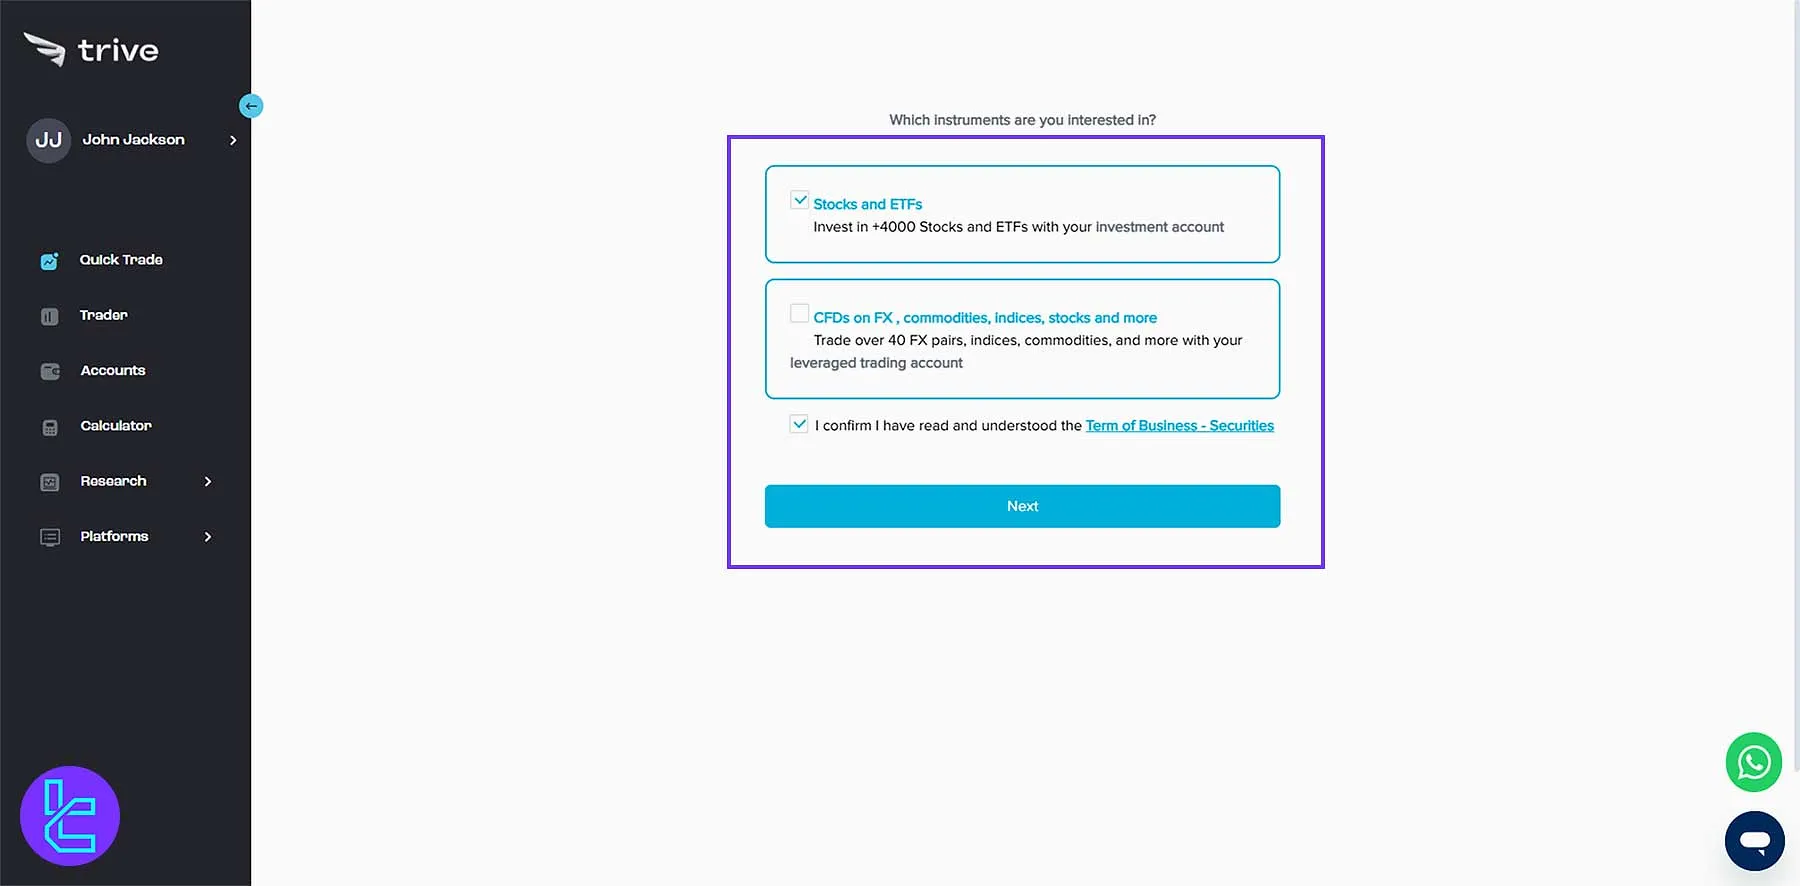
#3 Choose How You Want to Work with Trive Broker
- Select your preferred trading method (Stock and ETFs or CFD);
- Confirm Term of Business - Securities;
- Click Next.
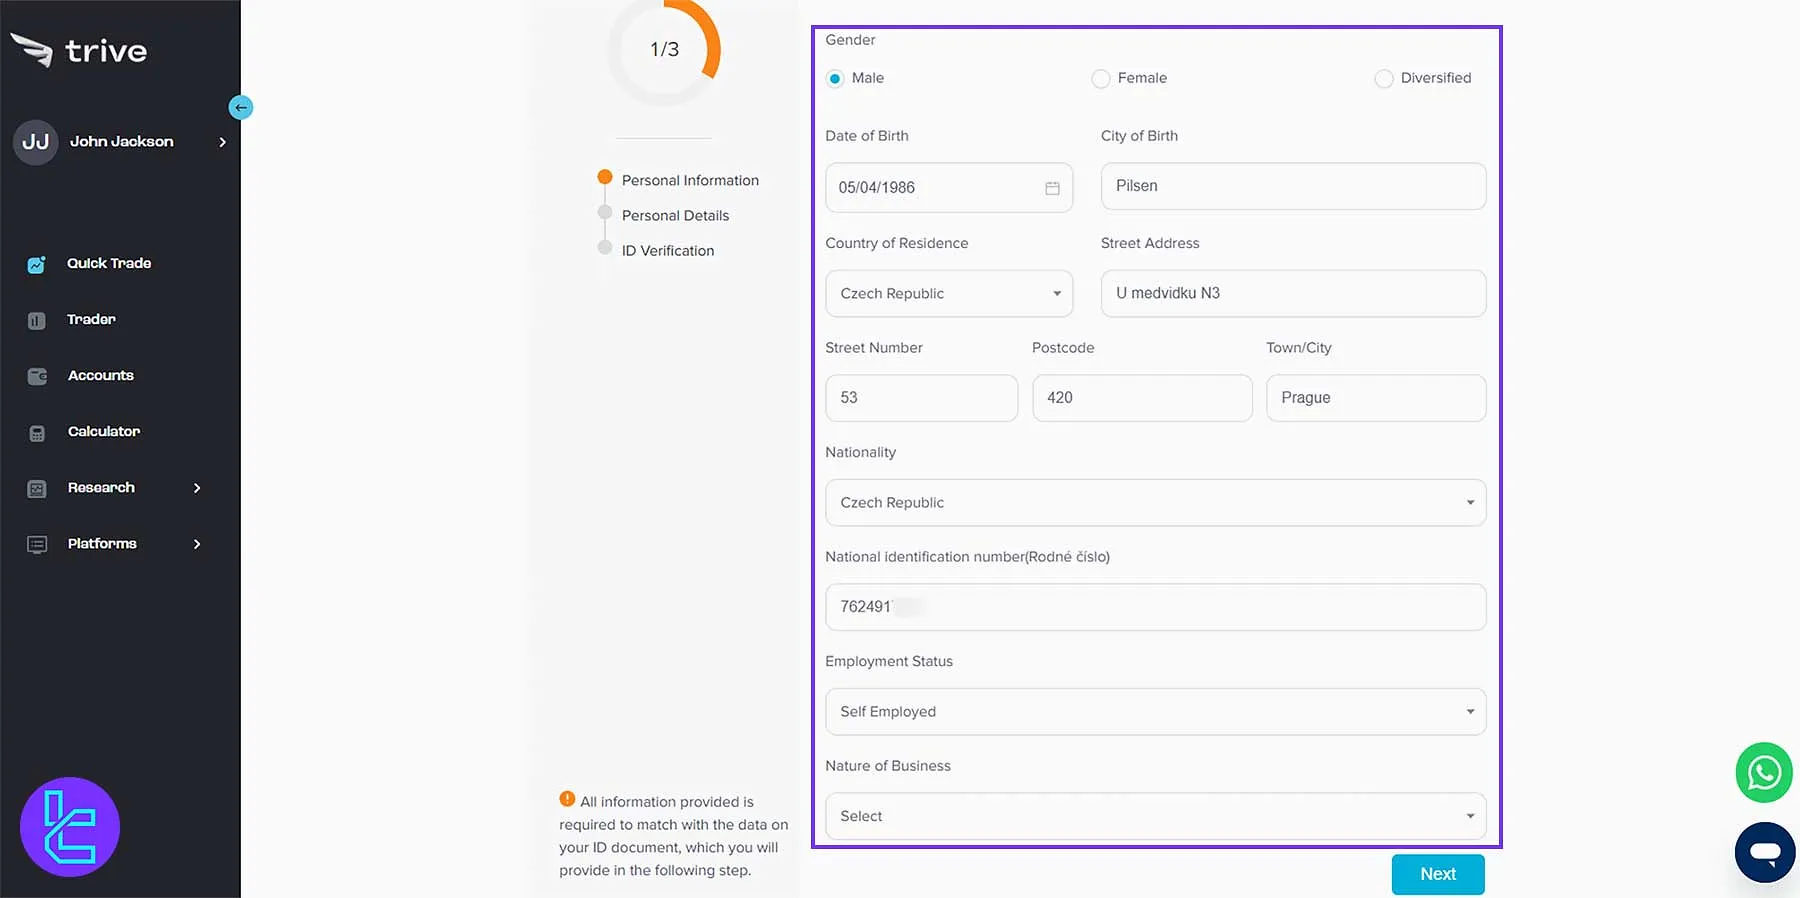
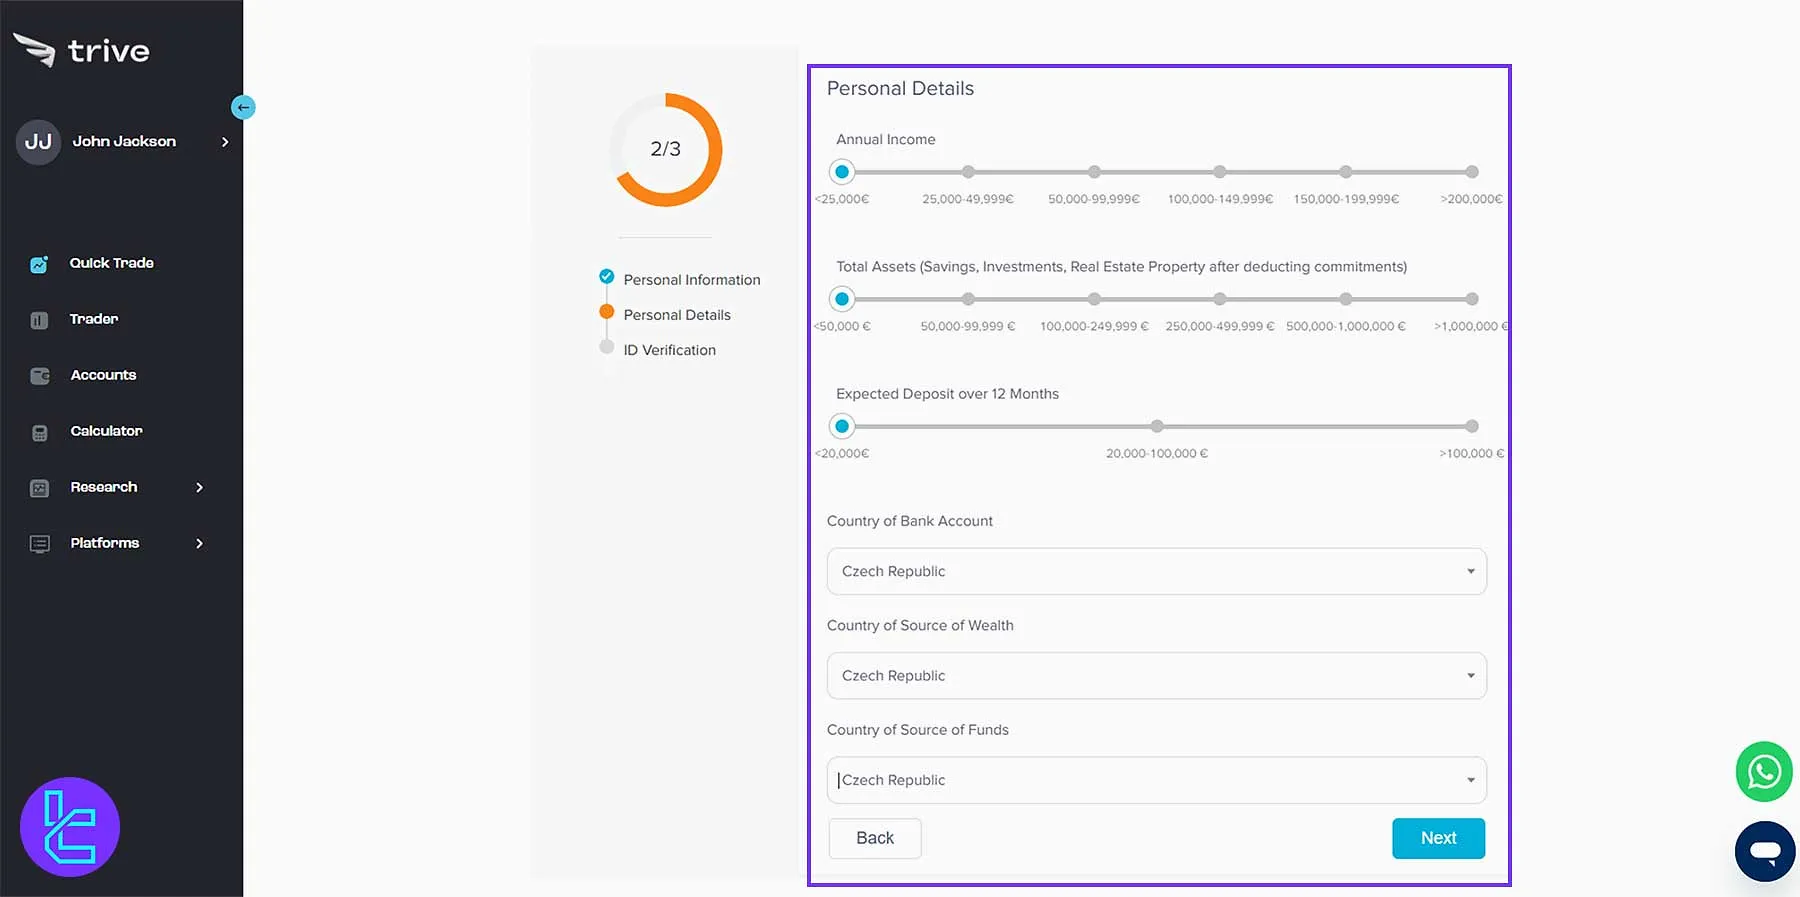
#4 Enter Additional Personal and Employment Details in Trive
- Select your gender and date of birth;
- Enter your city of birth, country of residence, and full address;
- Provide your nationality and ID card number;
- Indicate your employment status and job type;
- Click Next.
#5 Submit Your Financial Information for Trive
- Enter your bank details and income information;
- Click Next to finalize the registration.
Trive Registration Details vs 3 Other Brokers
The table below compares the account opening processes of Trive and three other brokers.
Registration Requirements | Trive Broker | |||
Email Sign-up | Yes | Yes | Yes | Yes |
Phone Number Required | Yes | Yes | Yes | Yes |
Google Account Login | No | No | No | Yes |
Apple ID Login | No | No | No | Yes |
Facebook Login | No | No | No | Yes |
Full Name | Yes | No | No | Yes |
Country of Residence | Yes | No | Yes | Yes |
Date of Birth | Yes | No | Yes | Yes |
Address Details | Yes | No | No | No |
Email Verification | No | Yes | Yes | Yes |
Phone Number Verification | No | No | No | No |
Financial Status Questionnaire | Yes | No | No | No |
Trading Experience Questionnaire | No | No | No | Yes |
Conclusion and Final Words
Trive Registration process is completed in 5 steps. Enter your gender, date of birth, country of residence, and full address.
For further guidance, check out our Trive Verification from the recently published articles on the Trive Tutorials page.


