


The OURBIT verification involves 6 simple steps. Begin by accessing your account dashboard, submitting a valid government-issued ID, and taking a selfie to complete your identity verification.
After completing OURBIT KYC, you can trade spot and futures with up to 200× leverage across 100+ cryptocurrencies and benefit from VIP tiers that offer maker and taker fees as low as 0.01%.
Step-by-Step Guide to Complete OURBIT KYC
After finishing KYC on the OURBIT exchange, you'll unlock full access to all trading features and financial services.
OURBIT verification overview:
- Go to the identification section;
- Select advanced KYC level;
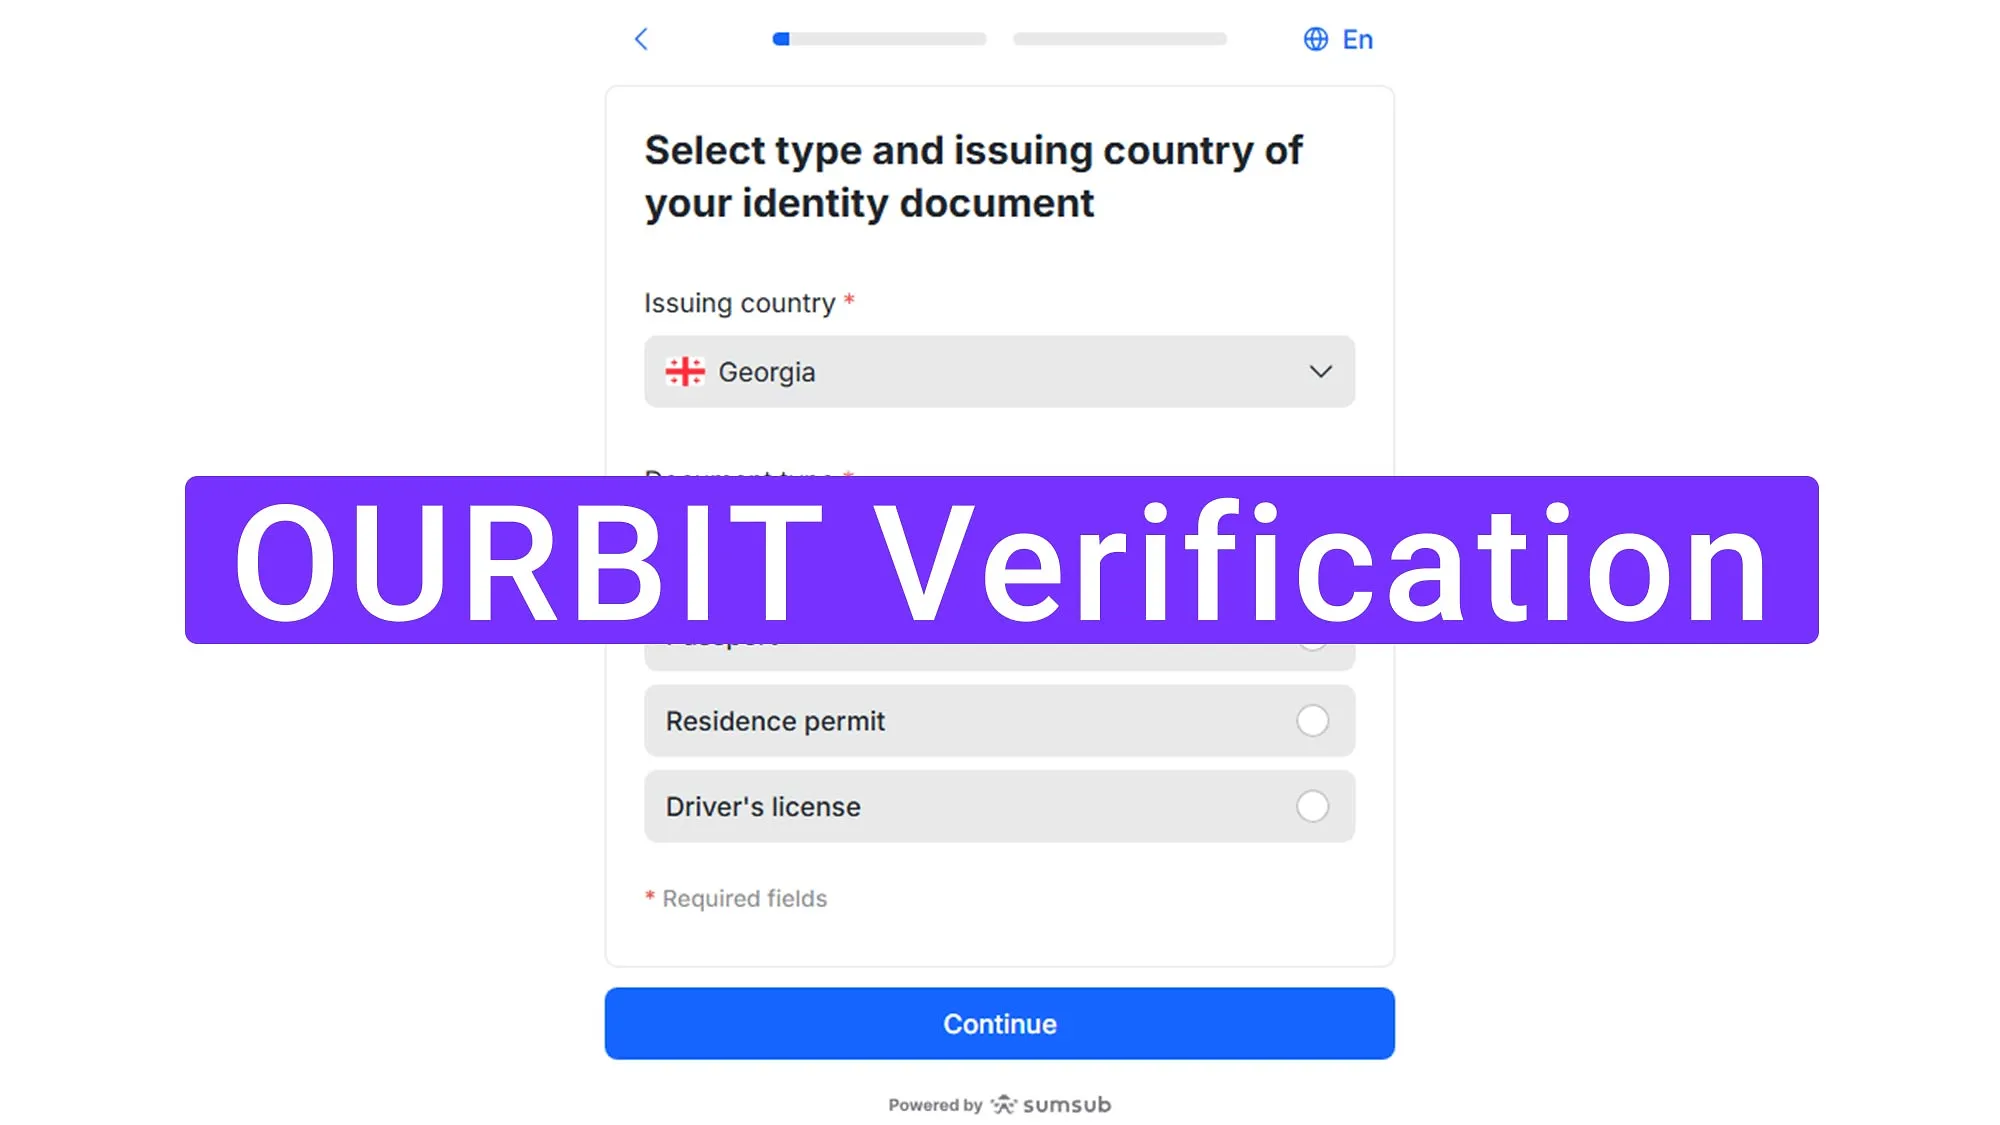
- Choose your nationality and document type;
- Upload photos of your ID;
- Complete a live selfie check;
- Wait for review confirmation.
Ensure all required documents and criteria are prepared in advance to ensure a smooth, fast authentication process.
Verification Requirement | Yes/No |
Full Name | No |
Country of Residence | Yes |
Date of Birth Entry | No |
Phone Number Entry | No |
Residential Address Details | No |
Phone Number Verification | No |
Document Issuing Country | Yes |
ID Card (for POI) | Yes |
Driver’s License (for POI) | Yes |
Passport (for POI) | Yes |
Residence Permit (for POI or POA) | Yes |
Utility Bill (for POA) | No |
Bank Statement (for POA) | No |
2-Factor Authentication | No |
Biometric Face Scan | Yes |
Financial Status Questionnaire | No |
Trading Knowledge Questionnaire | No |
Restricted Countries | No |
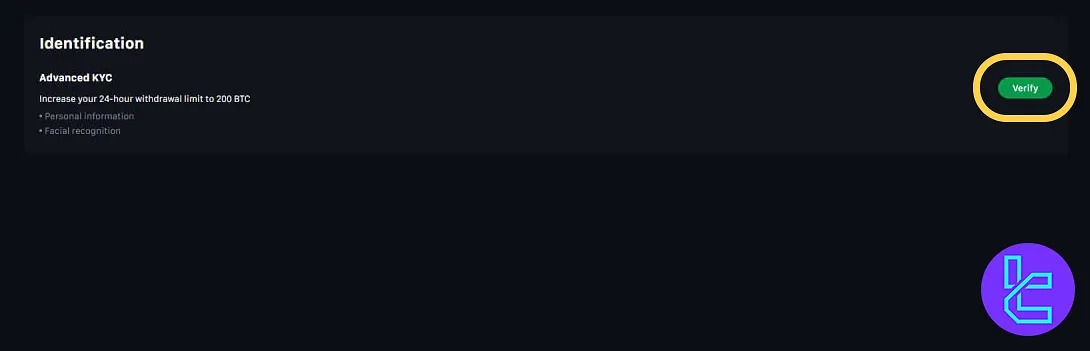
#1 Access the KYC Section
To begin the KYC process after OURBIT registration, follow these straightforward steps:
- Sign in to your OURBIT account dashboard.
- Go to the "Identification"

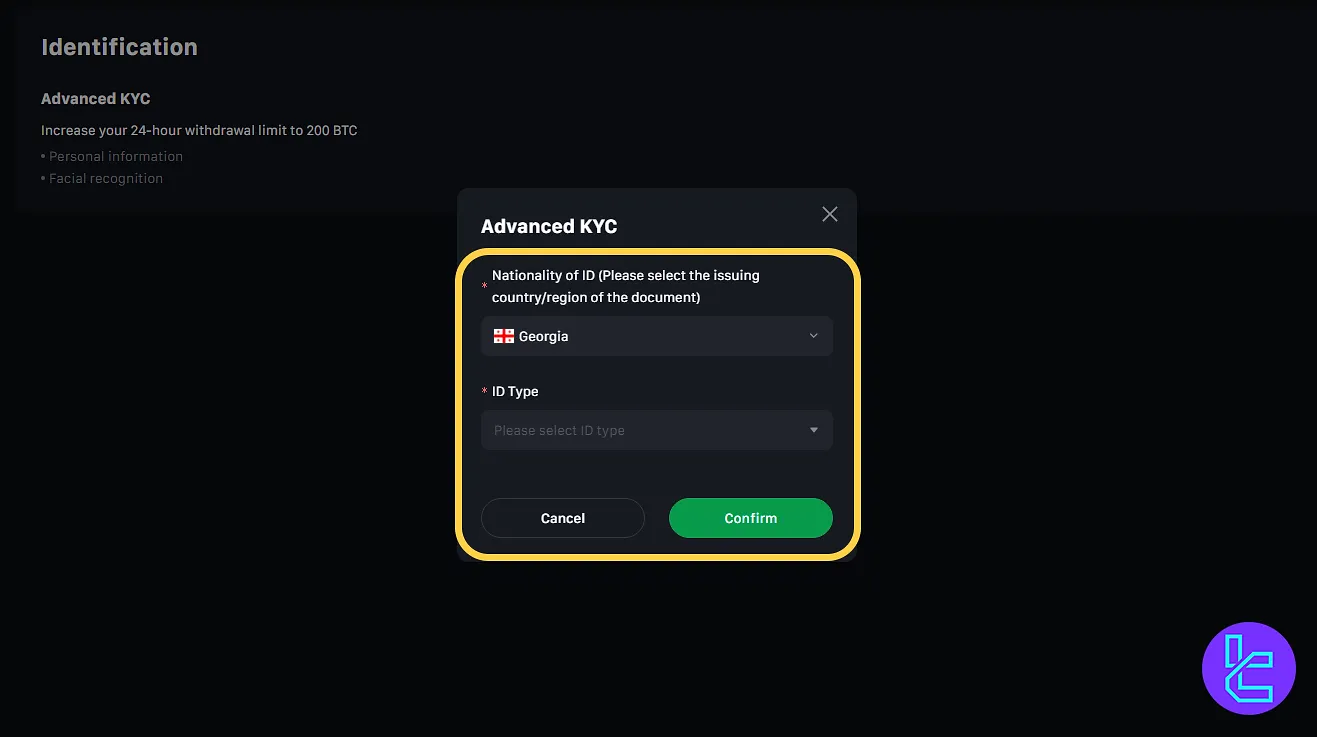
#2 Select Advanced KYC
Select the Advanced KYC level in this OURBIT tutorial to access all platform features, including higher withdrawal limits and trading benefits.
#3 Choose Your Country of Residence
Select the correct country where you legally reside. This determines document options and regional identity validation requirements.
Choose one of these documents:
- ID card
- Passport
- Residence permit
- Driver’s license
For most users, the ID card is the fastest option.
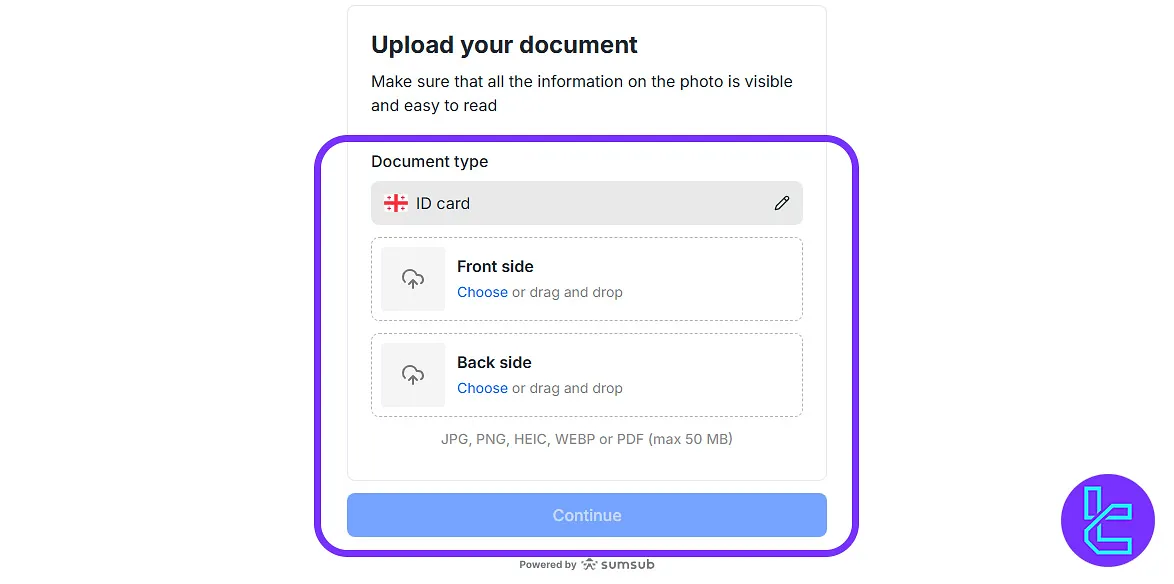
#4 Upload Your Document Images
Carefully upload the required sides of your document. Ensure clarity, lighting, and that all details are readable. Blurry or unclear images may cause delays.
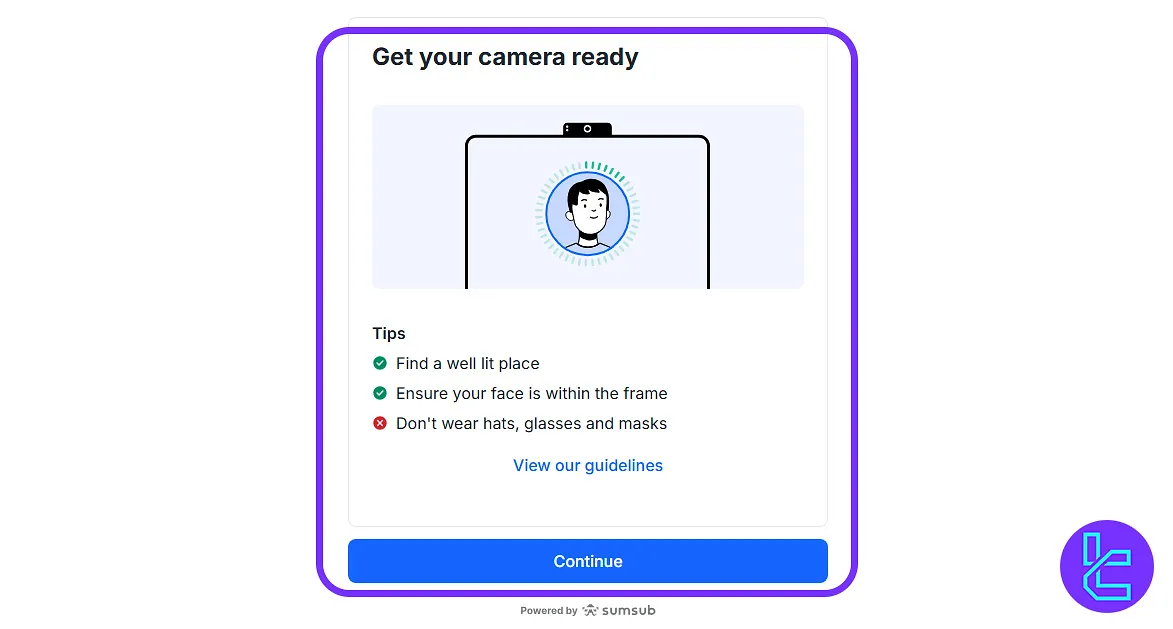
#5 Perform the Live Selfie Check
Allow access to your device camera, position your face within the frame, and avoid sunglasses, hats, or masks to ensure accurate facial recognition.
#6 Submit and Await Approval
After submission, your documents will be reviewed. You can track their progress in your profile dashboard and will receive an email once verification is complete.
Comparison of Identity KYC Methods Between OURBIT and Leading Exchanges
The table below highlights the essential documents and primary steps needed to complete KYC on OURBIT. It also offers a side-by-side comparison of how top cryptocurrency exchanges manage user authentication.
Verification Requirement | OURBIT Exchange | |||
Full Name | No | Yes | No | No |
Country of Residence | Yes | Yes | No | Yes |
Date of Birth Entry | No | Yes | No | No |
Phone Number Entry | No | No | No | No |
Residential Address Details | No | Yes | No | Yes |
Phone Number Verification | No | No | No | No |
Document Issuing Country | Yes | No | Yes | No |
ID Card (for POI) | Yes | Yes | Yes | Yes |
Driver’s License (for POI) | Yes | Yes | Yes | Yes |
Passport (for POI) | Yes | Yes | Yes | Yes |
Residence Permit (for POI or POA) | Yes | No | Yes | Yes |
Utility Bill (for POA) | No | No | No | Yes |
Bank Statement (for POA) | No | No | No | Yes |
2-Factor Authentication | No | No | No | No |
Biometric Face Scan | Yes | Yes | Yes | Yes |
Financial Status Questionnaire | No | No | No | No |
Trading Knowledge Questionnaire | No | No | No | No |
Restricted Countries | No | Yes | Yes | Yes |
TF Expert Suggestion
The OURBIT verification process typically takes about 5 minutes to complete when your identification documents are ready. Once submitted, your account is typically reviewed and approved within minutes.
After your account authentication, you can top up your account using multiple OURBIT deposit methods with minimal entry requirements (trades starting around US$1) and attractive trading conditions.


