


Pionex verification is a quick process that include 3 easy steps and requires uploading a government-issued ID and completing facial recognition. Copied, outdated, or black and white documents are not accepted.
Overview of Key Steps in Pionex KYC
To get verified on the Pionex exchange, after completing the Pionex registration process, you must follow the steps below:
- Access the Pionex KYC menu
- Review the Pionex requirements
- Upload your ID document (ID card, Passport, etc.)
- Complete the selfie verification
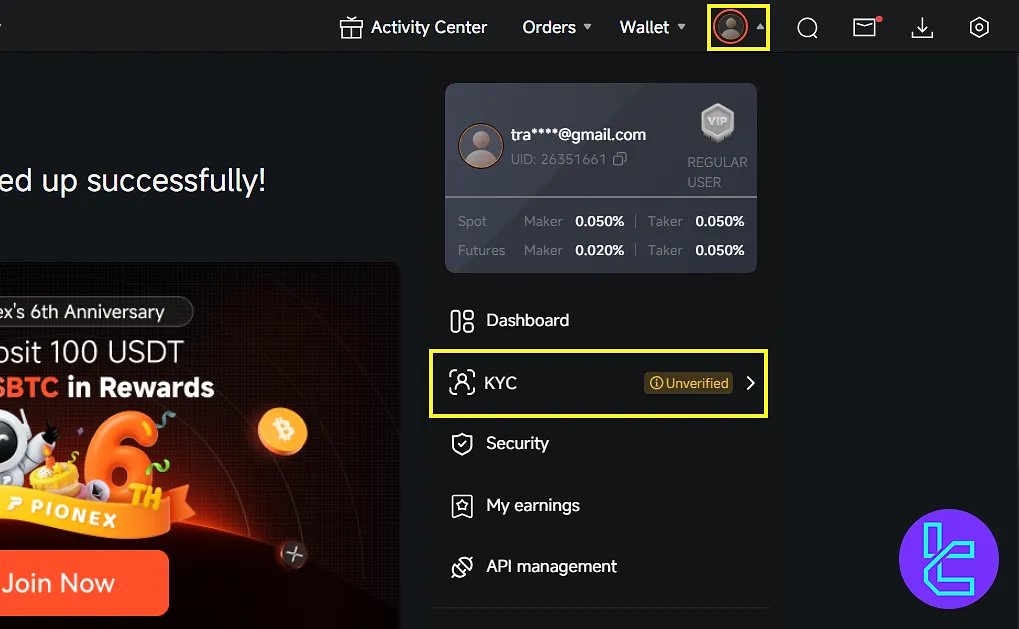
#1 Access the Pionex KYC Verification Menu
Click your user menu and go to “KYC” to see verification features and limits. Then, click “Verify”.
#2 Review Pionex Requirements and Start
On the next page, pay attention to the notification before submitting any documents:
- You must be 18+ years old
- Original government-issued ID is required
- Docs must not be outdated, copied, or black & white
- Issuer of the ID must not be on the Pionex restricted countries list
Click “Start”, then agree to the personal data statement, and hit “Continue”.
#3 Upload Your ID Document in Pionex
Upload your docs in a few steps:
- Choose phone or current device, then check the privacy policy box, and click “Continue”;
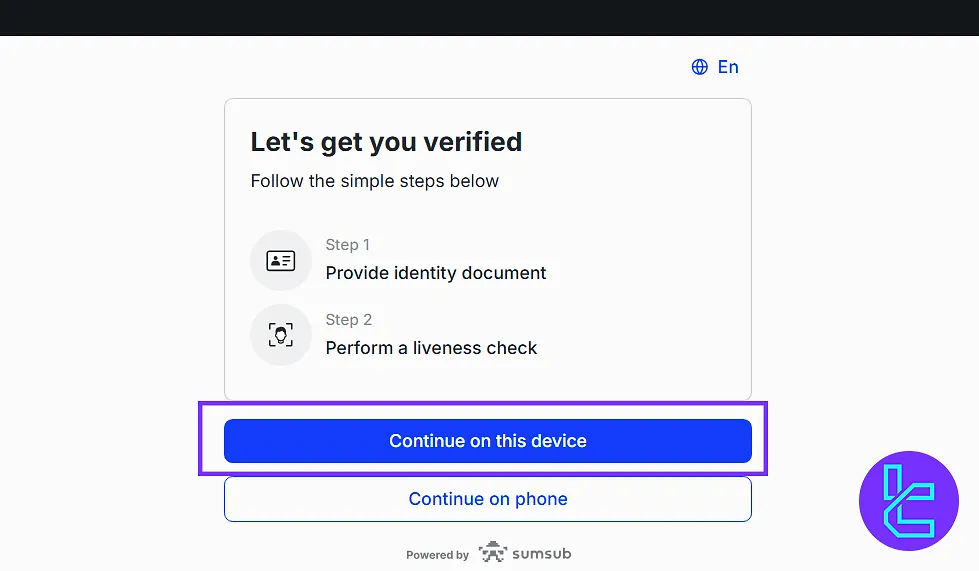
Decide whether you want to continue Pionex KYC on this device or on your phone - Choose your country and document type (passport, ID card, etc.) and click “Continue”
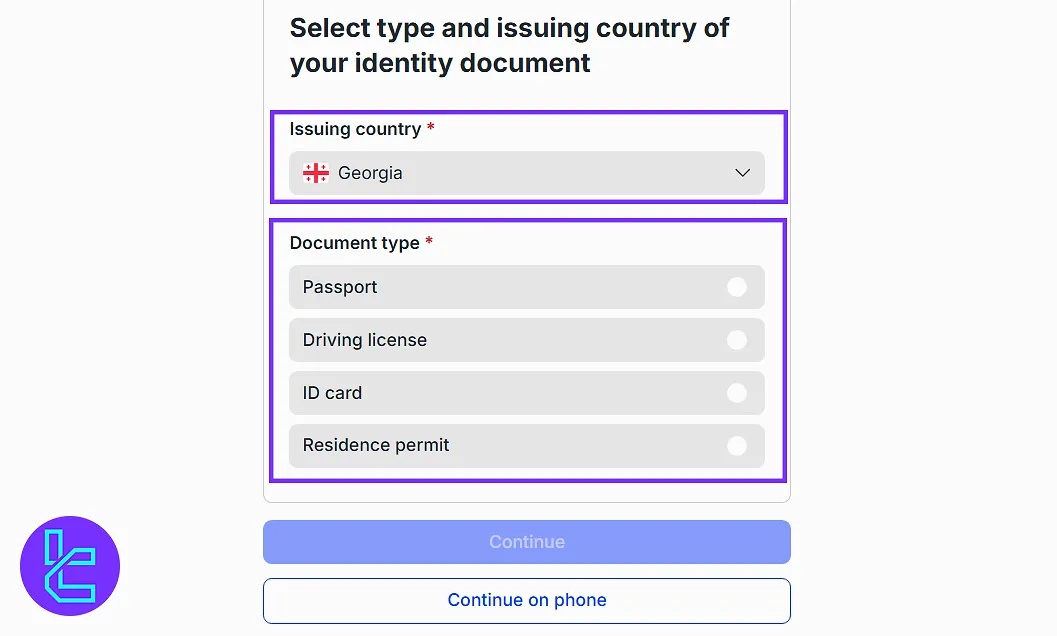
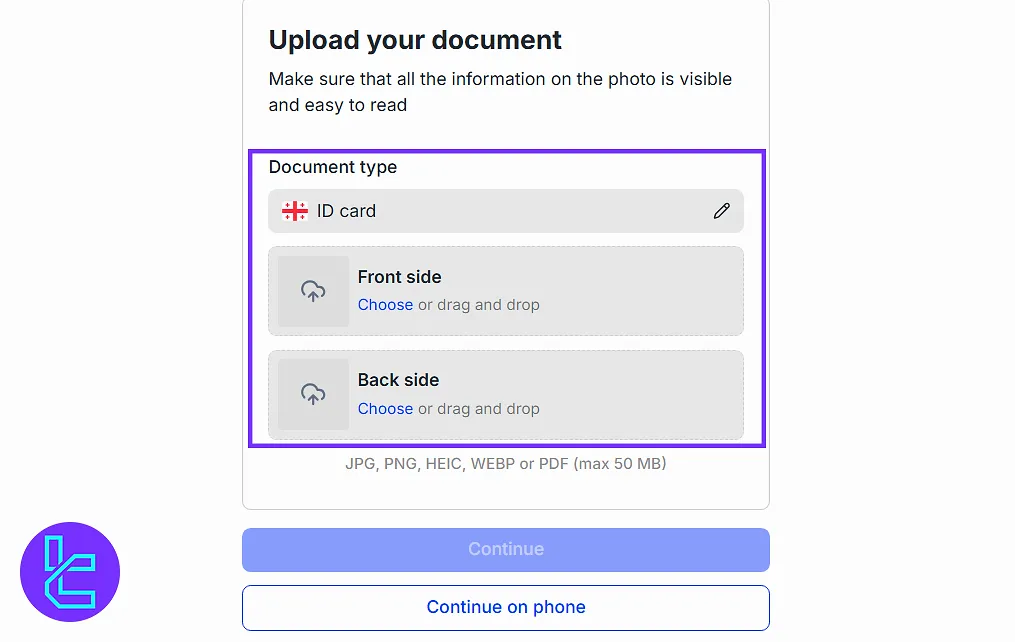
Choose your country, select a document type, and continue to the verification process on Pionex - Upload front and back sides, then hit “Continue”
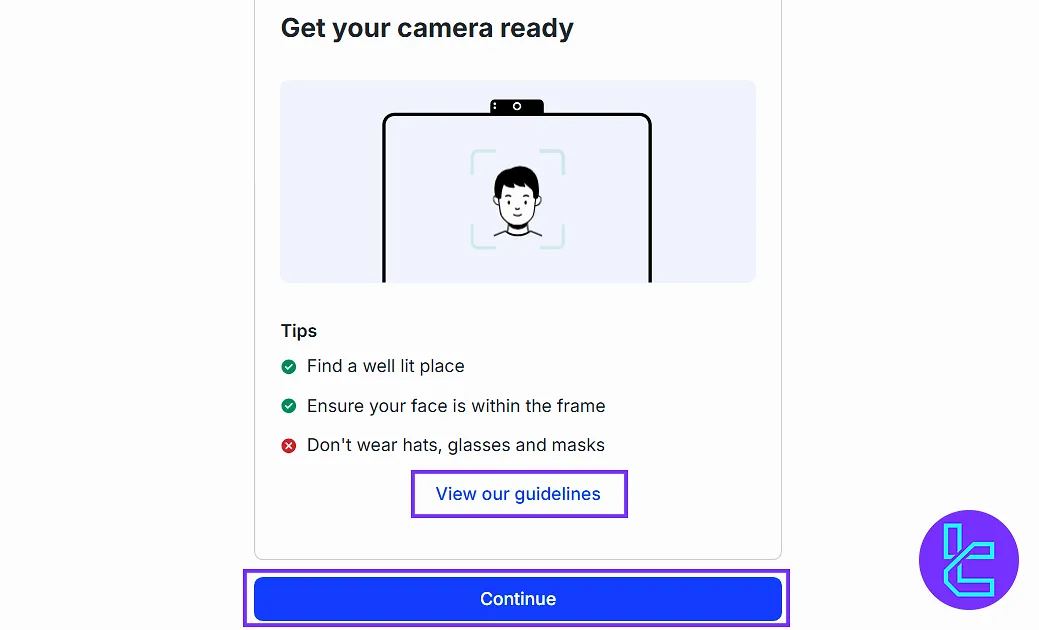
#4 Complete the Selfie Verification on Pionex
Click “Continue”, take a selfie by following the instructions, and finish the process.
Final Words and Conclusion
Pionex verification takes less than 10 minute to complete. Note that you must be 18+ years old, and your ID issuer must not be of the Pionex restricted countries.
For the next step, read the Pionex deposit and withdrawal from the recent guides on the Pionex tutorials page to fund your account and begin trading cryptocurrencies.


